

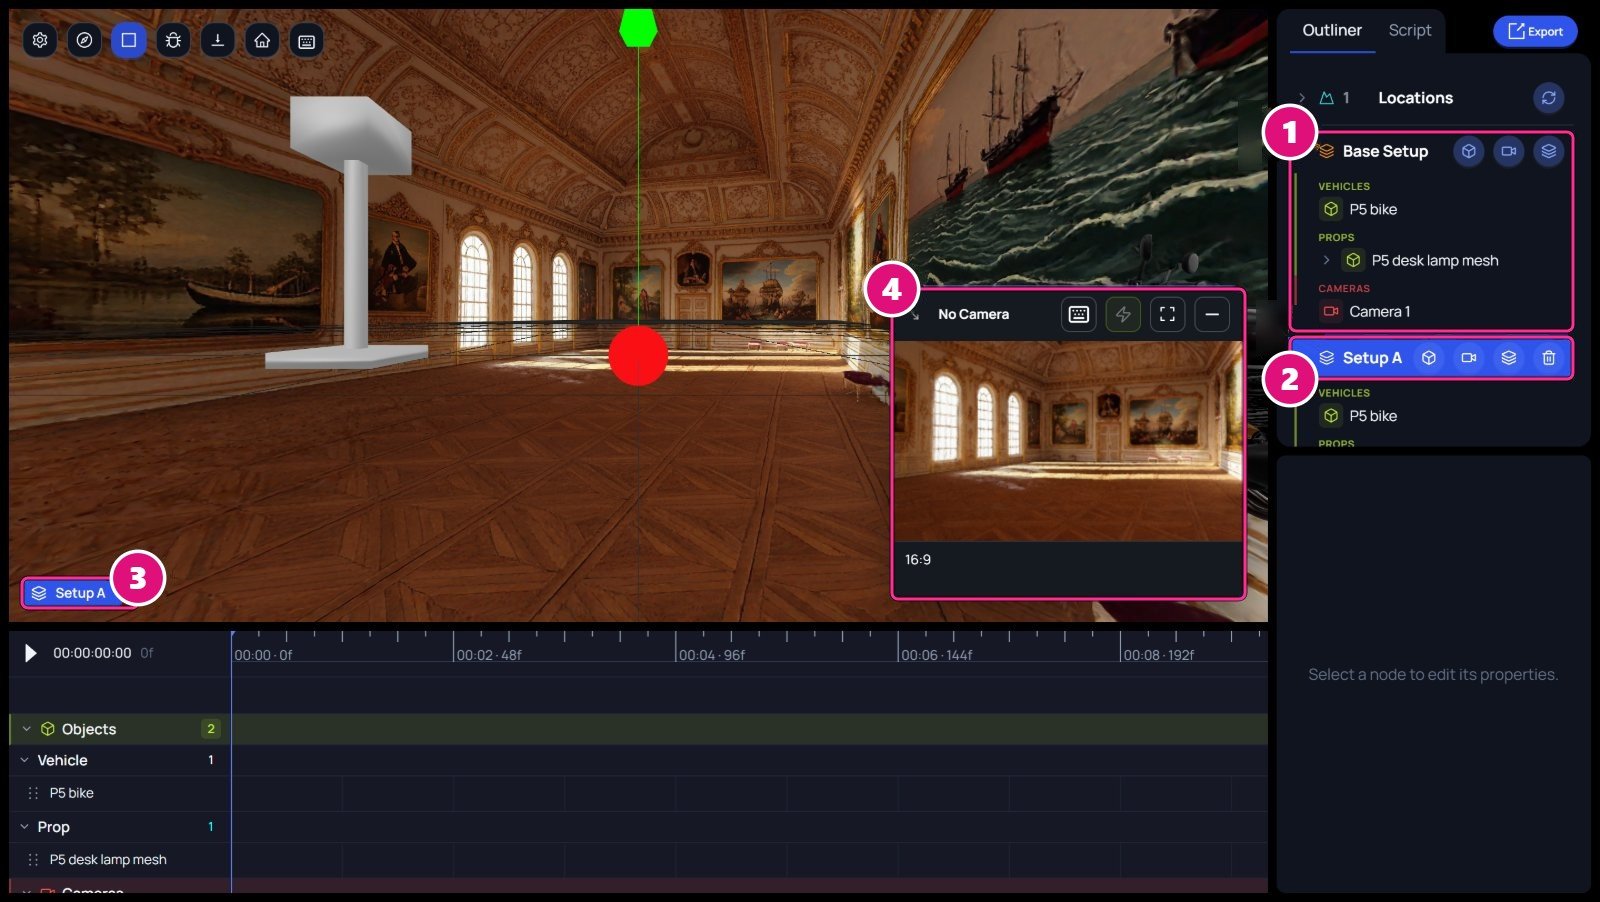
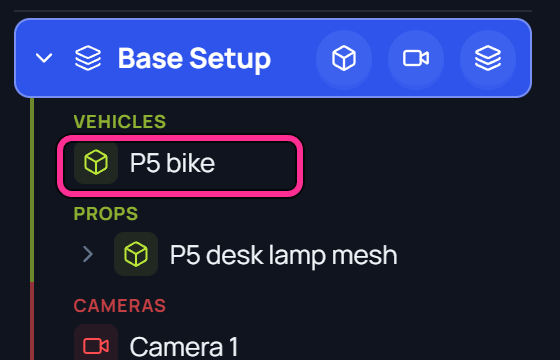
- Base Setup, with its objects and cameras
- Setup A, a clone
- Setup chip
- Camera preview
Setups and Base Setup
Each setup row in the Outliner lists the setup’s objects and cameras. Its buttons add to that setup.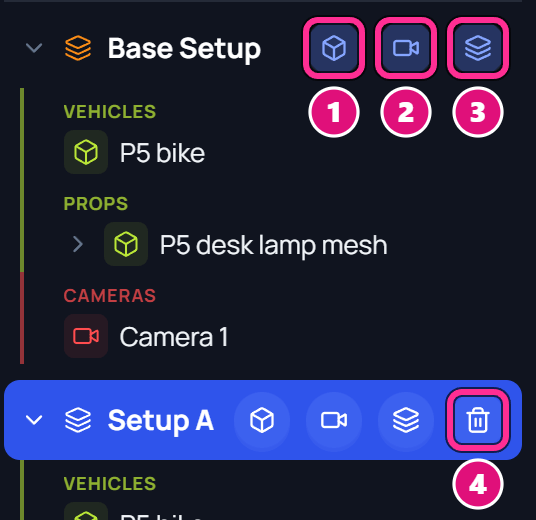
- Add an object to this setup
- Add a camera to this setup
- Clone this setup
- Delete this setup
- Base Setup has no delete.
- An object added from a clone’s row shows In this setup on its Outliner row.
Add a setup
Clone a setup
On the row of the setup to start from, click Clone this setup. The clone is named Setup A, then Setup B and so on, and becomes the active setup.
Add its cameras
A clone keeps the objects but not the cameras, so the preview reads No Camera. On its row, click Add a camera to this setup. See Add a camera.
Switch setups
The canvas shows one setup at a time, the active one. Click the setup chip at the bottom left of the canvas, then pick a setup. Clicking a setup’s row in the Outliner also makes it active.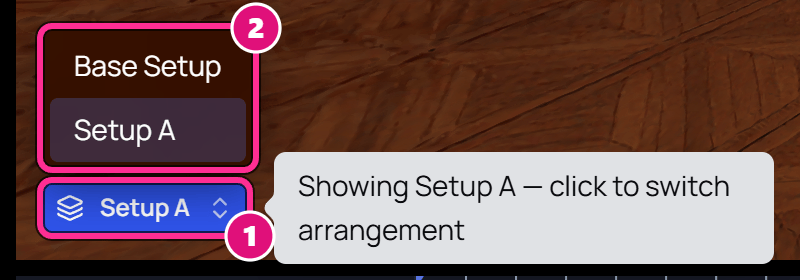
- Setup chip
- Setups
Hide an object in one setup
- Make the setup active.
- On the object’s row, click the eye. The row dims.
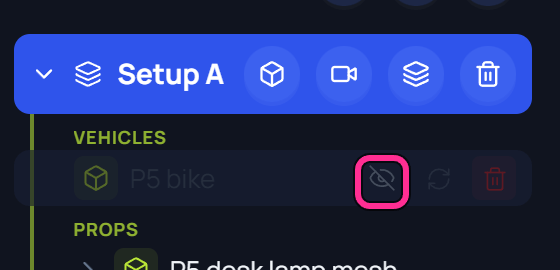
Hiding is saved in this browser only, so other browsers and other people still see the object. Ctrl+Z doesn’t undo it.
Delete a setup
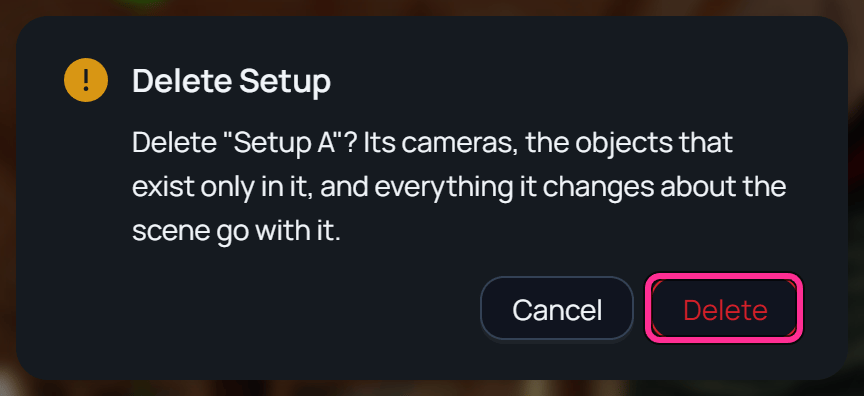
- On the setup’s row, click Delete this setup.
- Click Delete. Its cameras, the objects only in it and its changes go with it. Its takes and their videos go too. The window says how many.

Ctrl+Z undoes these setup changes, and Ctrl+Shift+Z redoes them:
- Cloning or deleting a setup. Undoing a delete brings back its cameras, its own objects and its changes.
- Removing an object from one setup, or putting it back the way the scene has it.
- Deleting an object from Base Setup while other setups still use it.
- Renaming an object or a location.
- Turning Auto-keyframe on or off.
Related
Cameras
Add a camera and set its lens.
Timeline and animation
Play a scene and keyframe its cameras.