
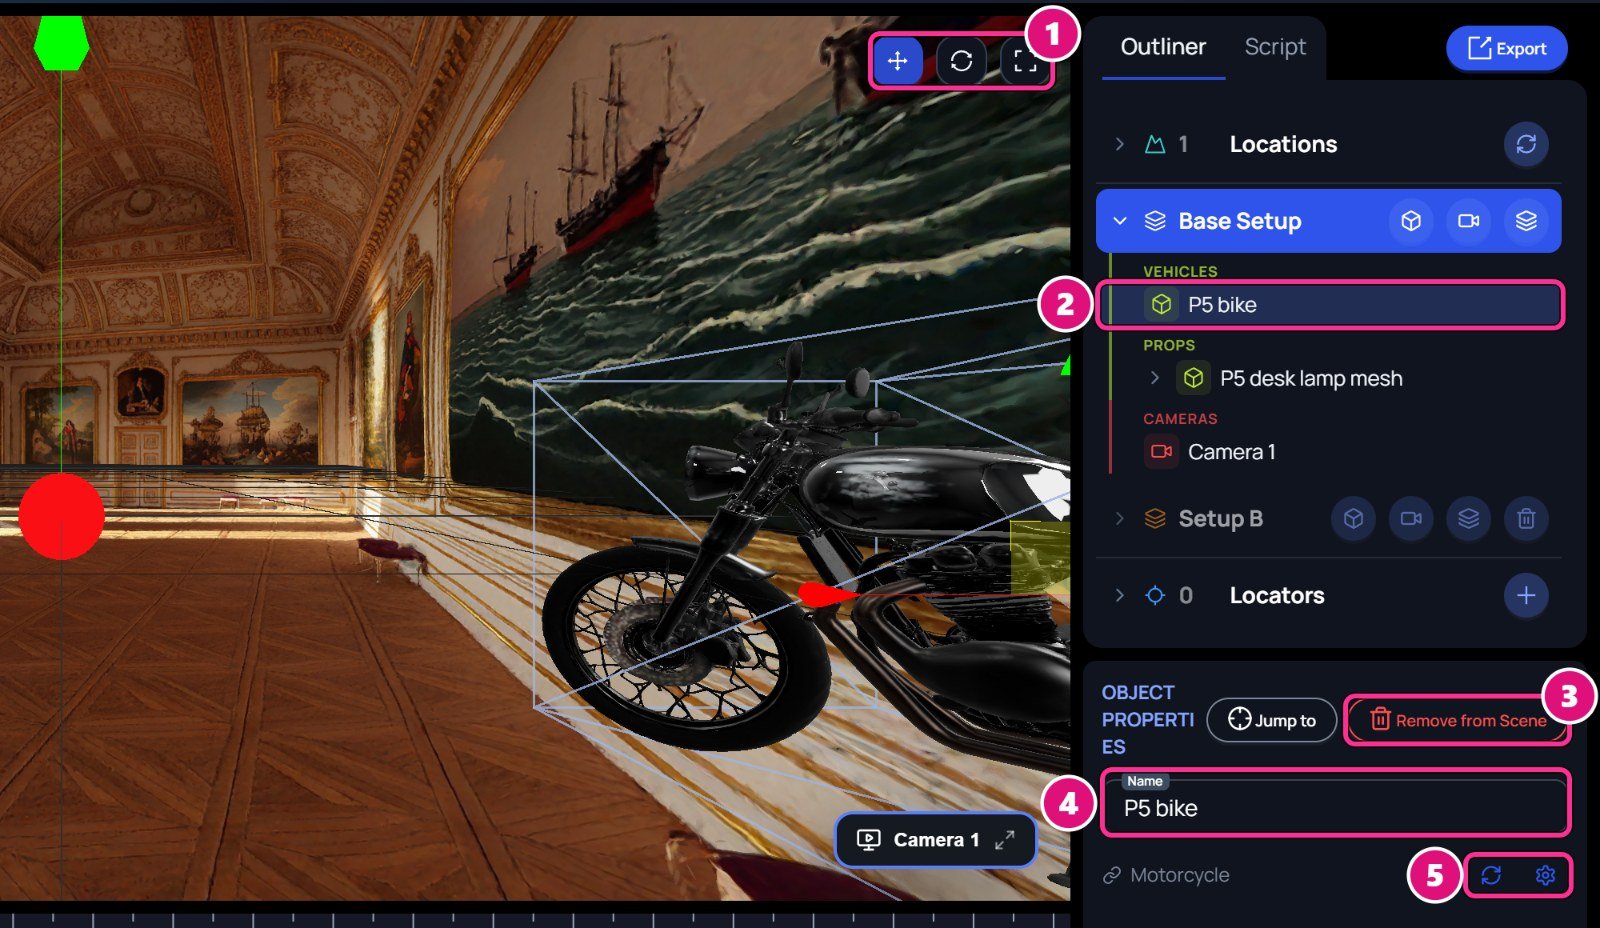
- Gizmo: Position, Rotation, Scale
- Object row, under its setup and kind
- Remove from Scene
- Name
- ↻ Replace with another file, ⚙ file settings
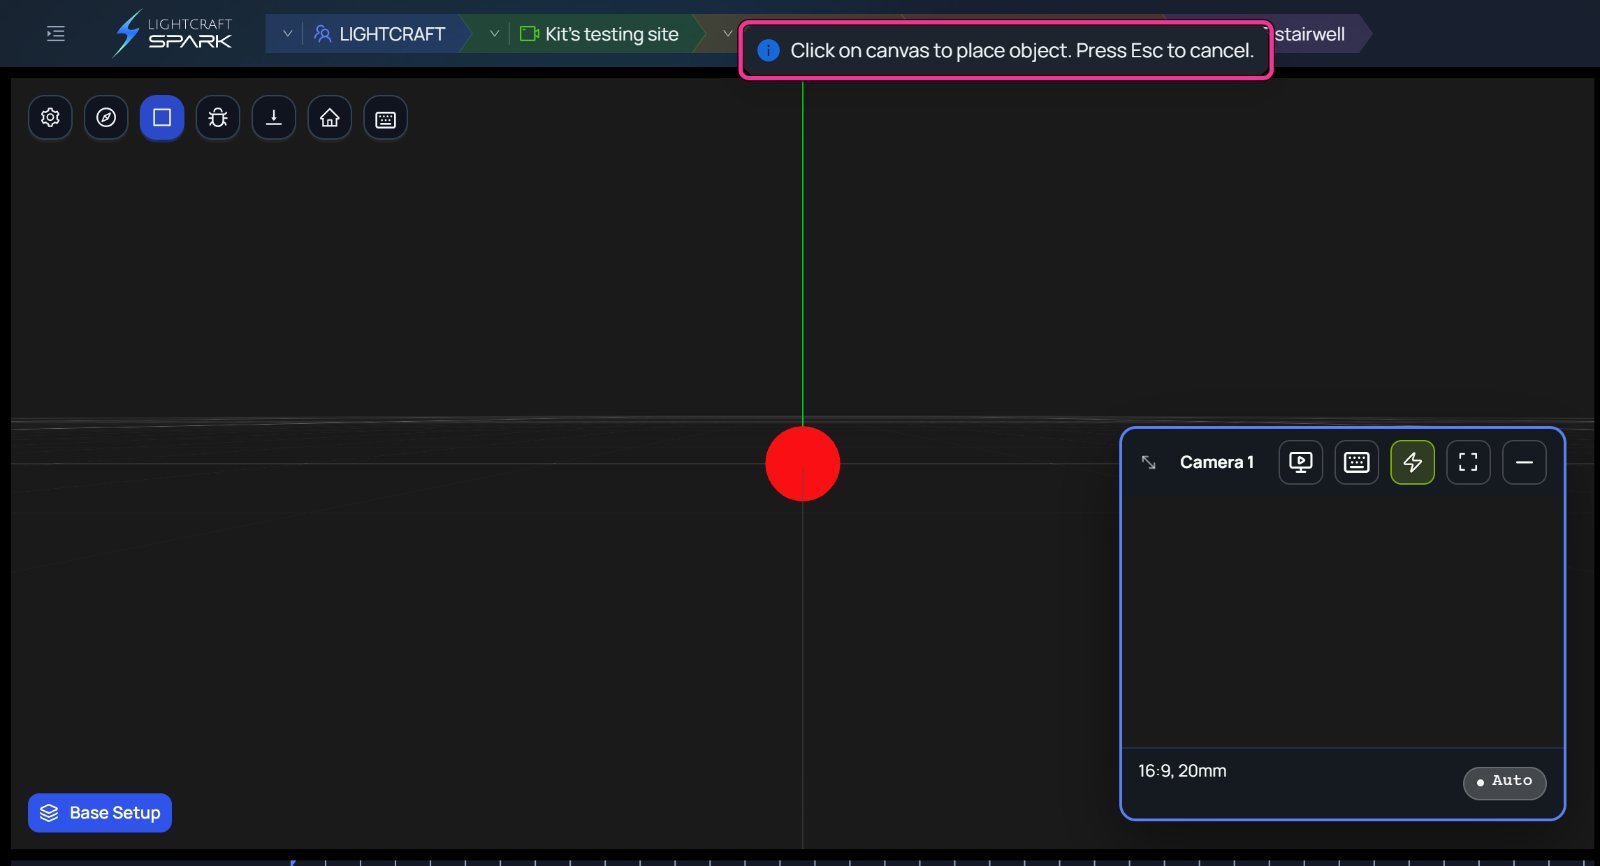
Add an object
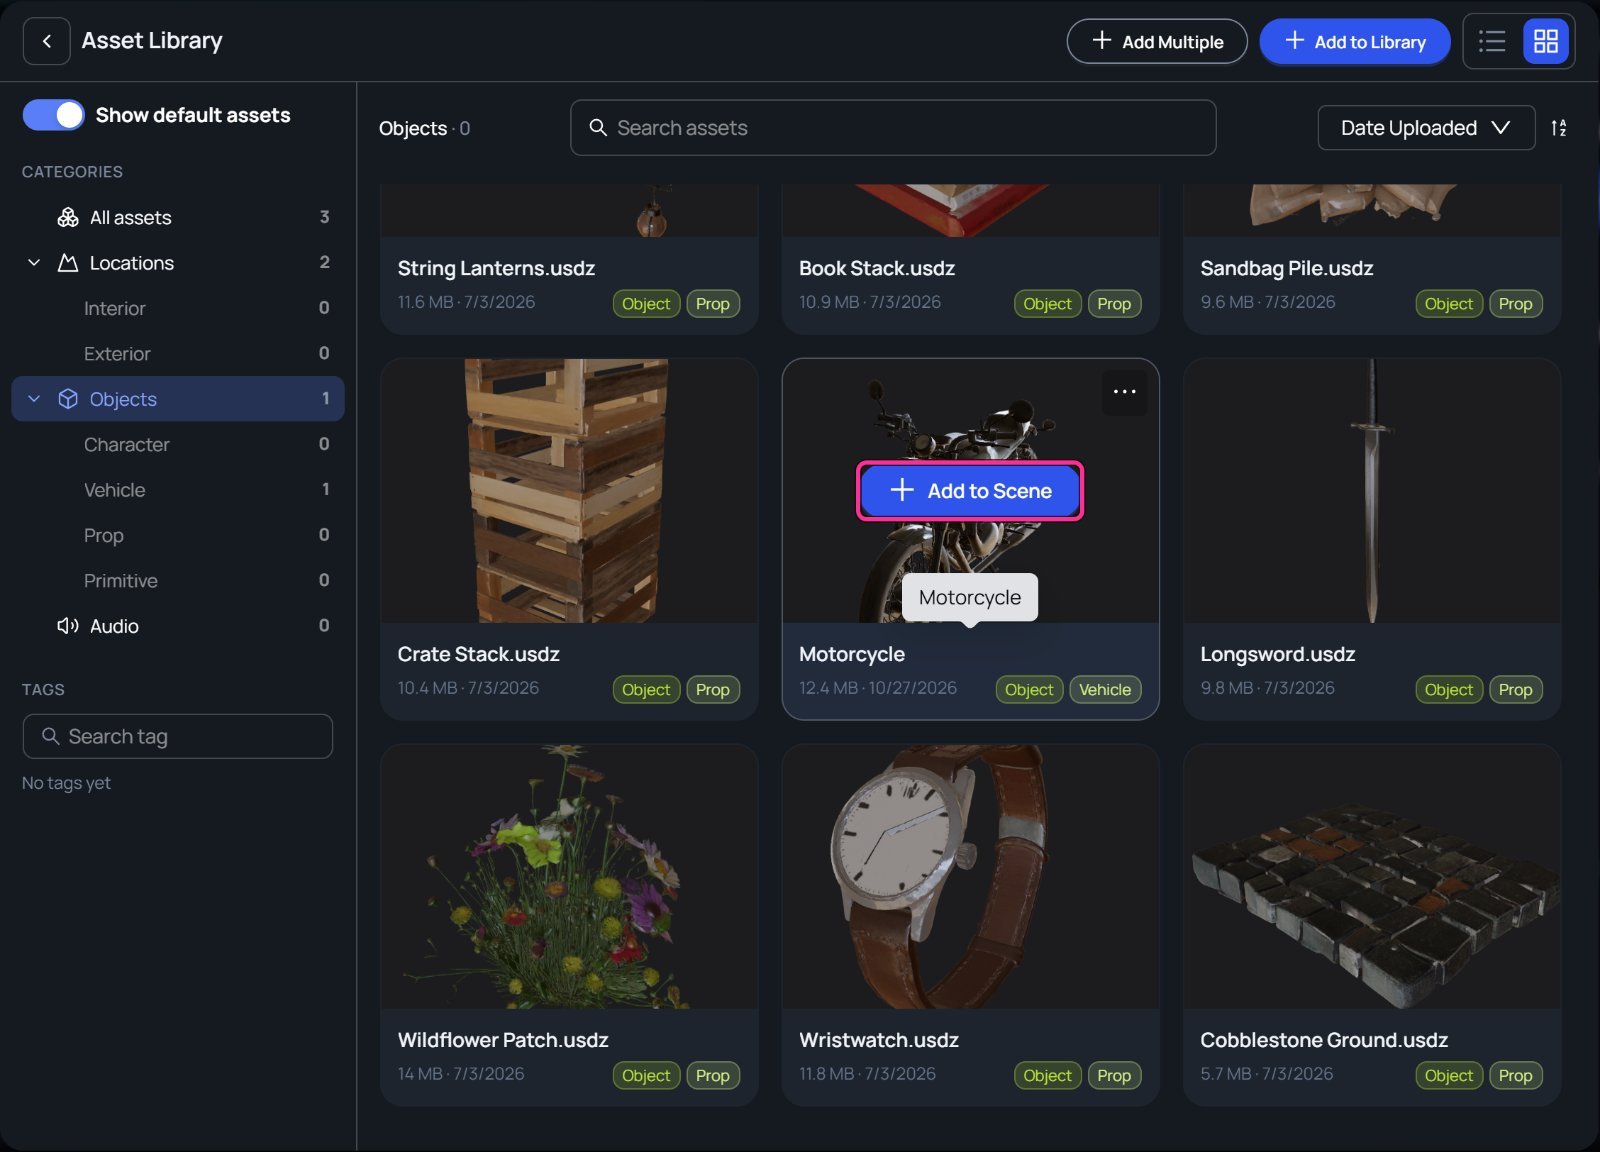
Open the object library
On the setup’s row in the Outliner, click Add an object to this setup (the cube). The Asset Library opens on Objects.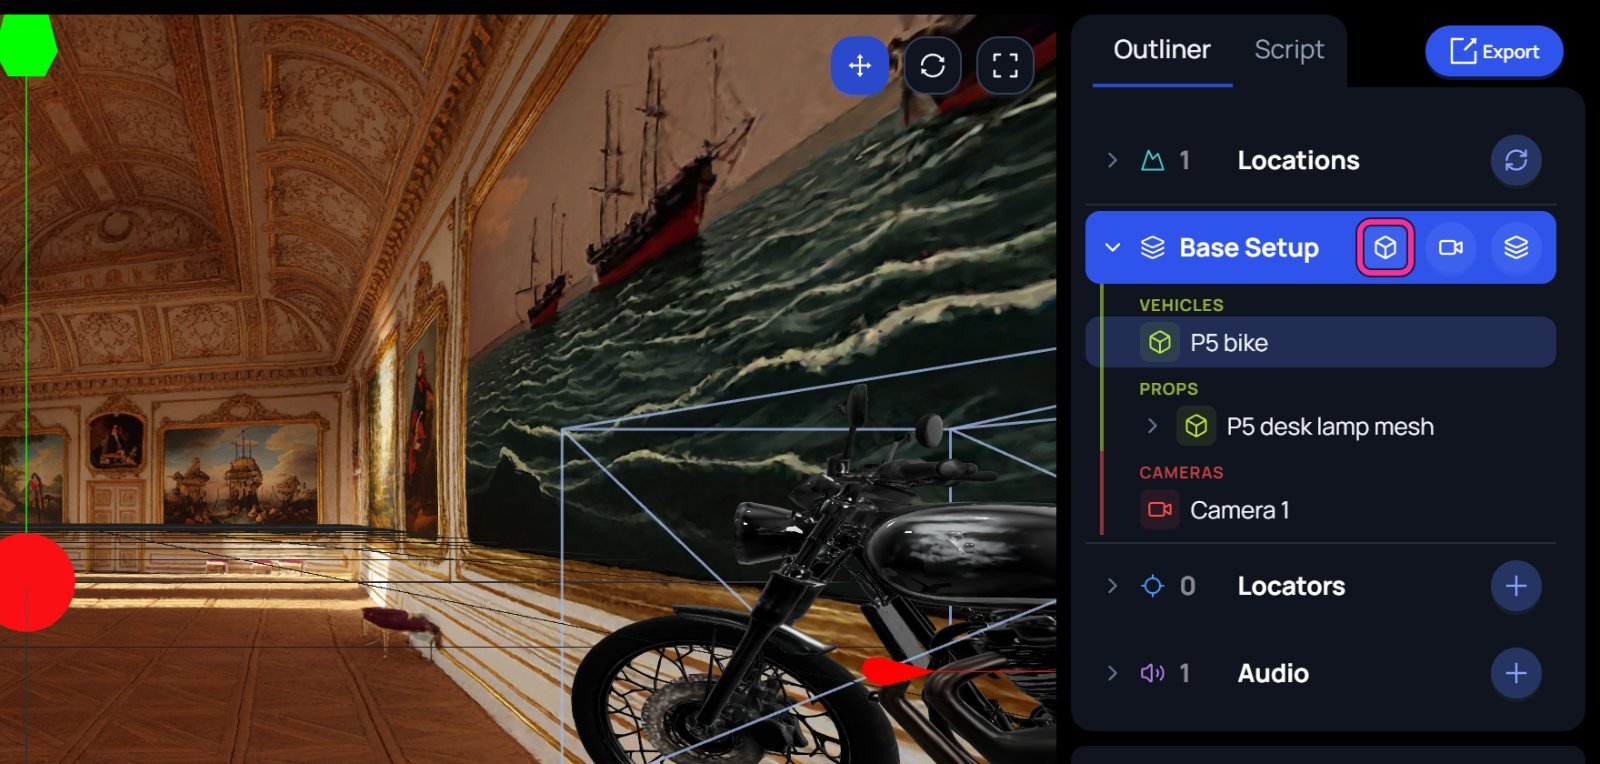
Prepare USD objects
Upload your own object with Add to Library. The Object Settings window asks for a subcategory and a name, and detects the up axis.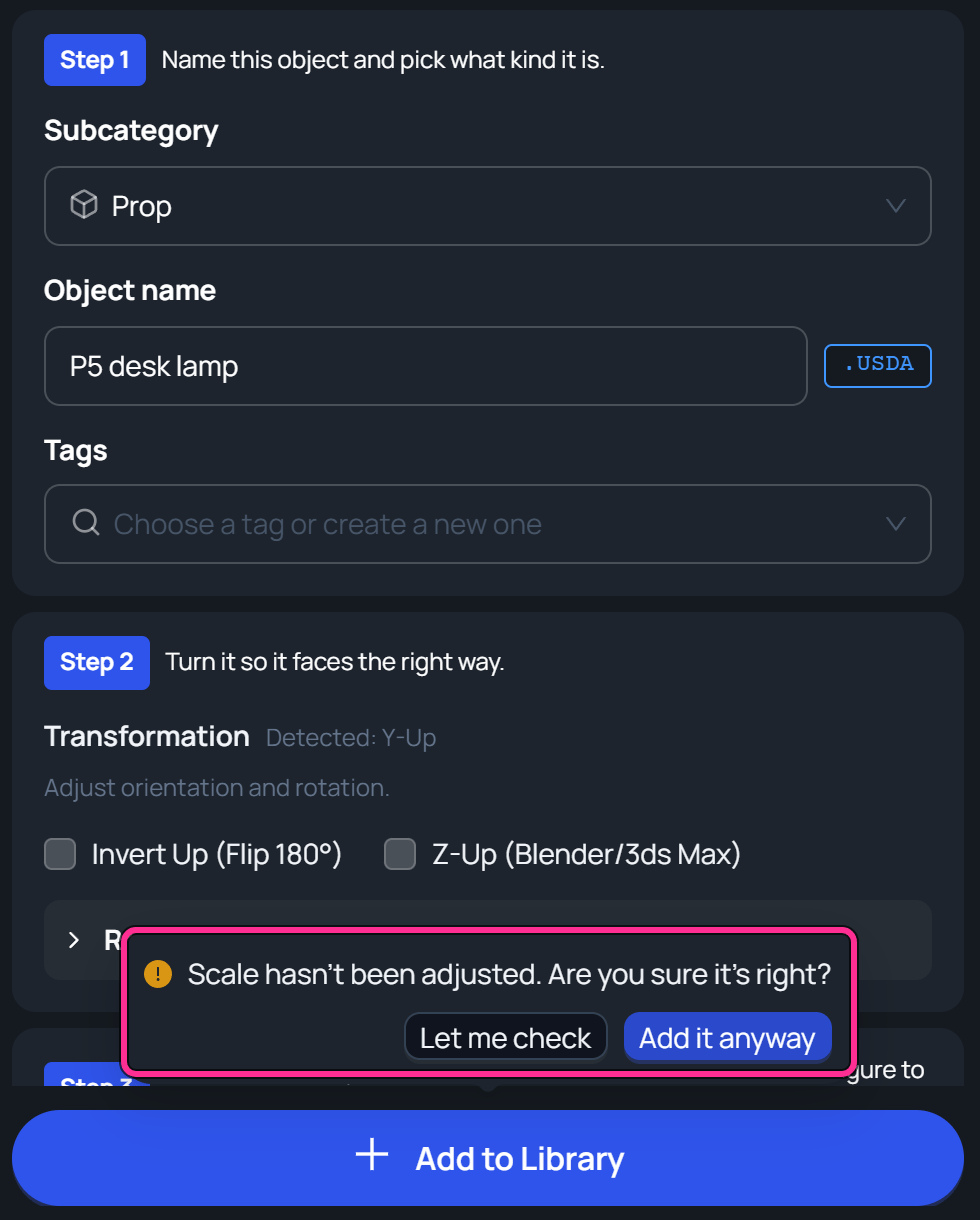
- Step 2 reads the file’s up axis, such as Detected: Y-Up. Tick Invert Up or Z-Up if the preview is upside down or on its side.
- If you leave the scale as it is, Spark asks Scale hasn’t been adjusted. Are you sure it’s right? Click Let me check, or Add it anyway.
Move, rotate or scale
Select the object, then drag the gizmo in the 3D canvas. Switch the gizmo’s mode with the buttons at the top right of the canvas.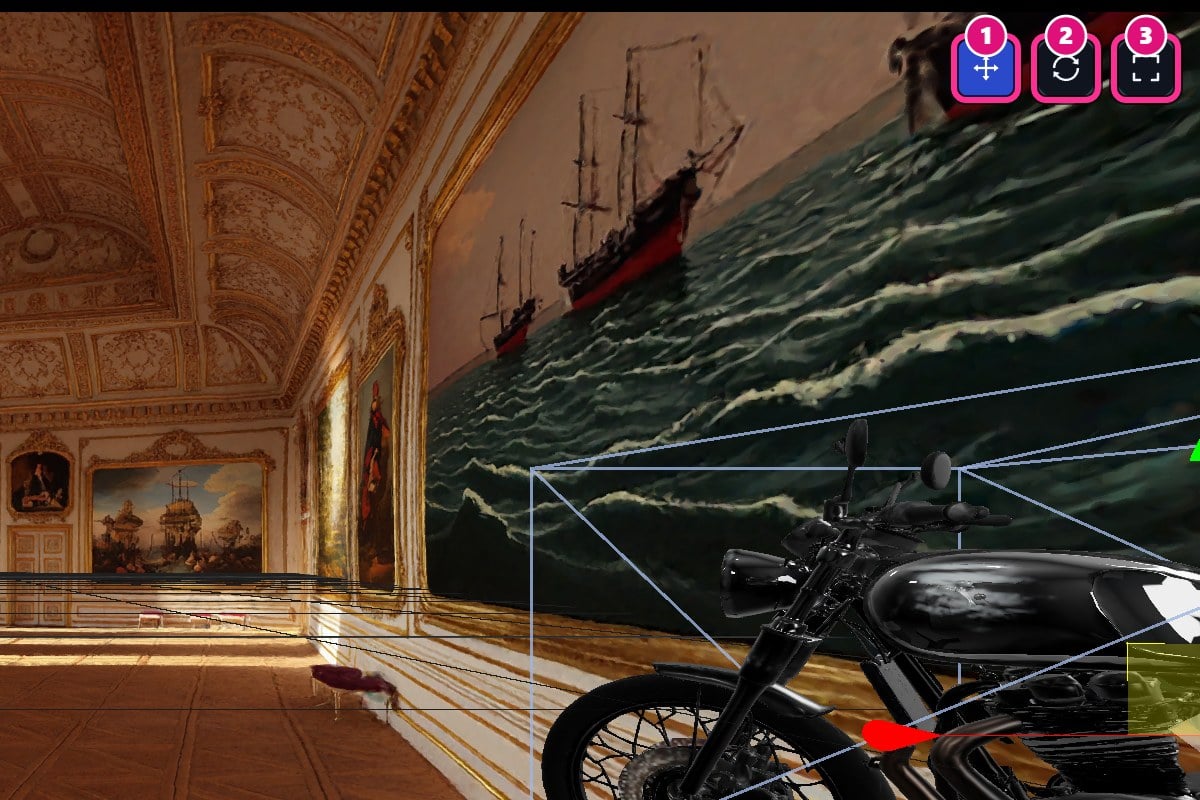
- Position
- Rotation
- Scale
To enter exact values, use Position, Rotation and Scale in Object Properties. Press Enter or Tab after each value.
Rename, replace or remove an object
- Rename: change Name in Object Properties. The Outliner and Timeline update.
- Replace: click ↻ Replace with another file. The library opens with Replace on each card. The object keeps its place and takes the new file’s name.
- Hide: hover the object’s row, then click the eye. The row turns dim. Your choice stays after a reload.
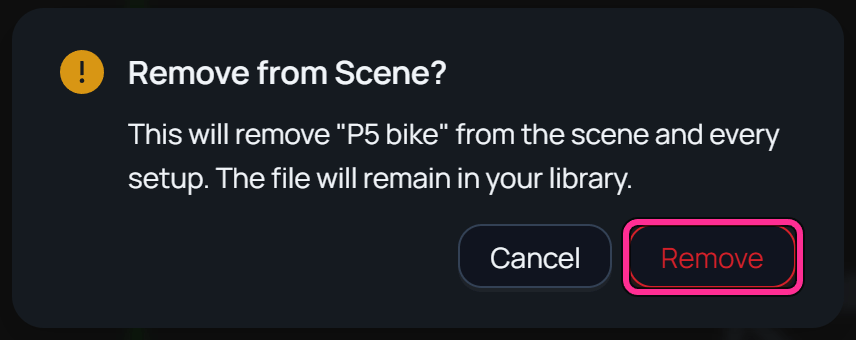
- Remove: click Remove from Scene, then Remove. The object leaves the scene and every setup. Its file stays in the library, and Ctrl+Z brings it back.
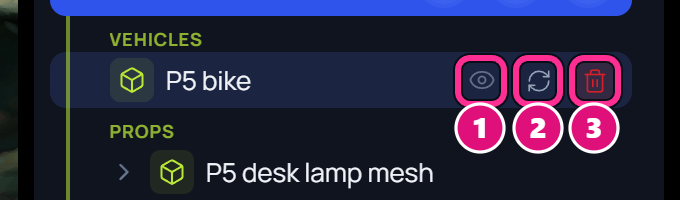
- Hide
- Replace file
- Delete
⚙ on the asset row edits the file in the library. The change applies to new placements only. Objects already in a scene keep their settings.
Related
Parts of an object
Select and change one part of an object.
Asset Library
Upload your own objects.