
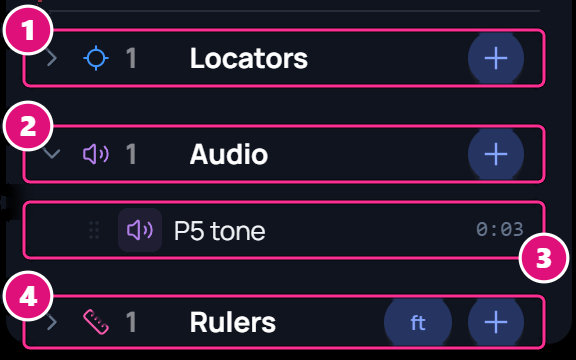
The bottom of the Outliner holds three categories: Locators, Audio and Rulers. Each row has a + that adds one. The bottom of the Outliner. Box 1 is on the Locators row, 2 on the Audio row, 3 on a sound named P5 tone lasting 0:03, and 4 on the Rulers row with its ft button.
  1. Locators: marked points
  2. Audio: audio files
  3. Sound, with its length
  4. Rulers, with the unit button

Add audio

Sound goes in two stages: you add the file to the scene, then place it on a Timeline track.
1

Add the sound to the scene

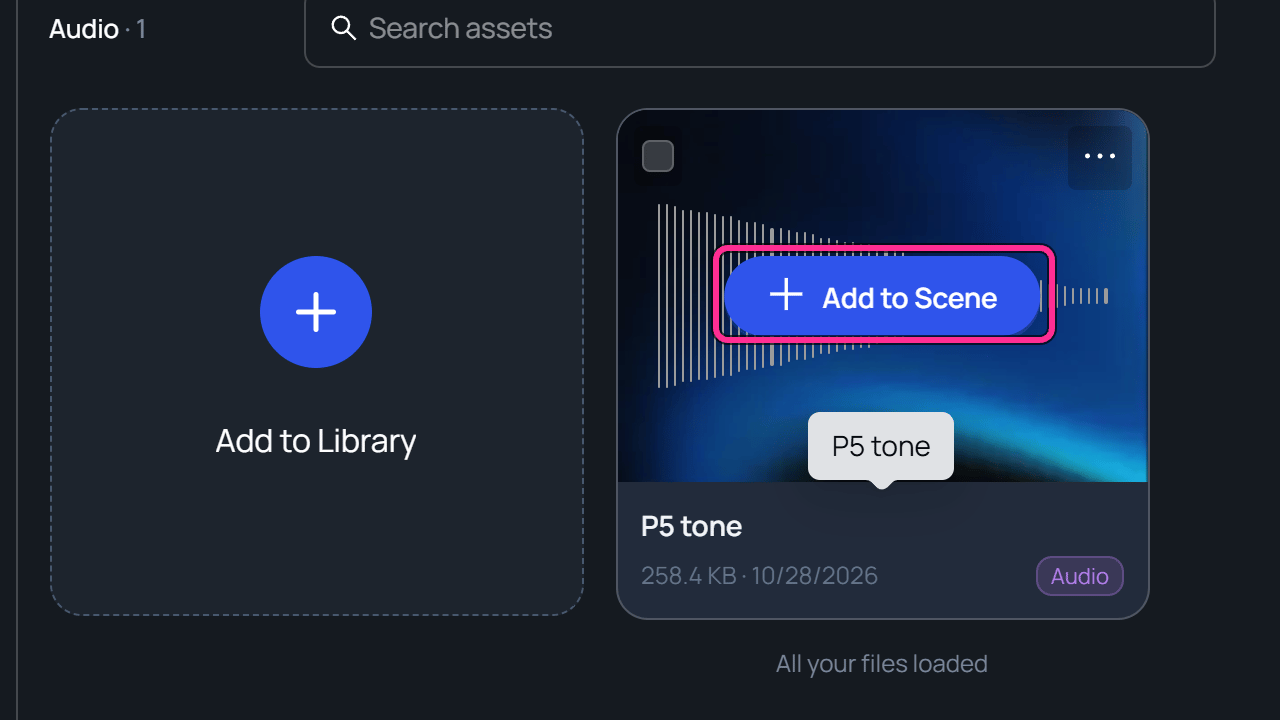
Click + on the Audio row. In the audio library, hover an audio file and click Add to Scene. It shows under Audio with its length.The scene editor. Box 1 is on the plus button of the Audio row in the Outliner, and 2 on the plus button of the Audio row on the Timeline.
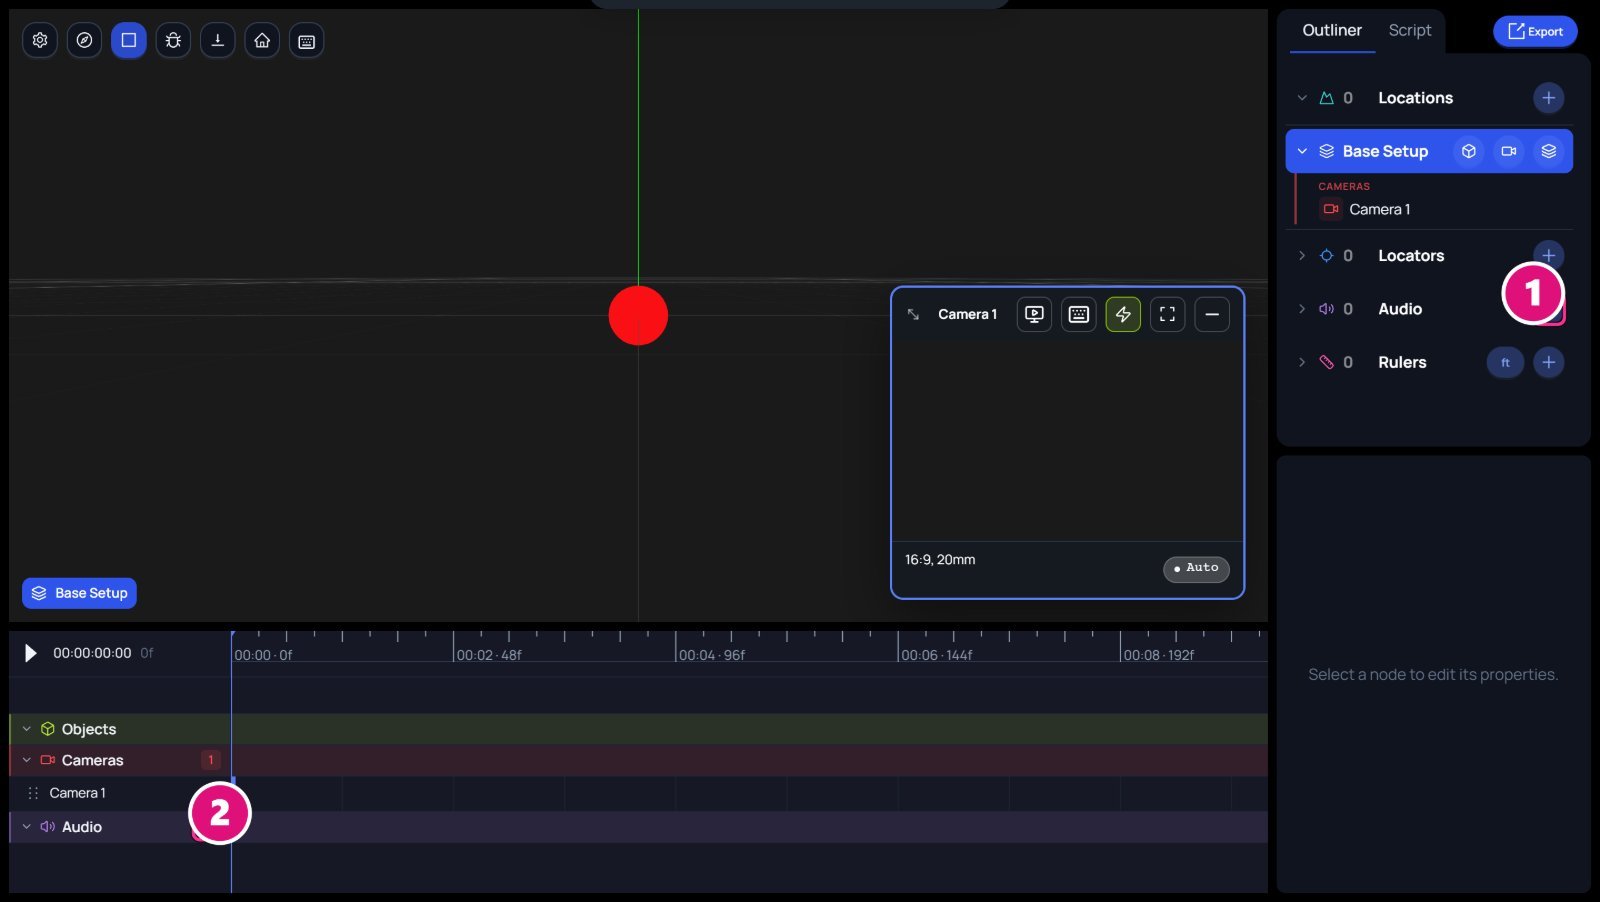
  1. Audio + in the Outliner
  2. Audio + on the Timeline
The audio library with the pointer on the P5 tone card, and a box on its Add to Scene button.
2

Add a track

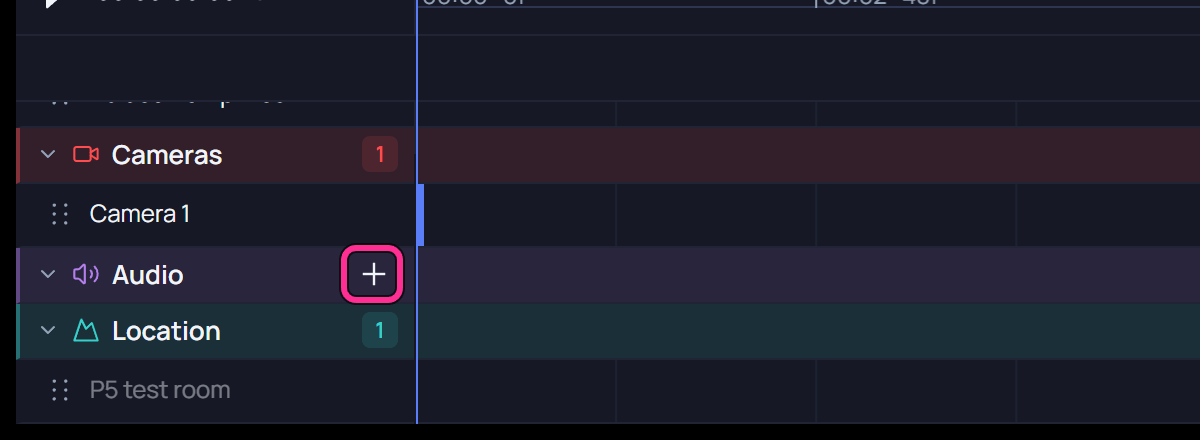
On the Timeline, click + on the Audio row. Spark adds a track named Audio 1.The Timeline track list, with a box on the plus button of the Audio row.
3

Place the clip

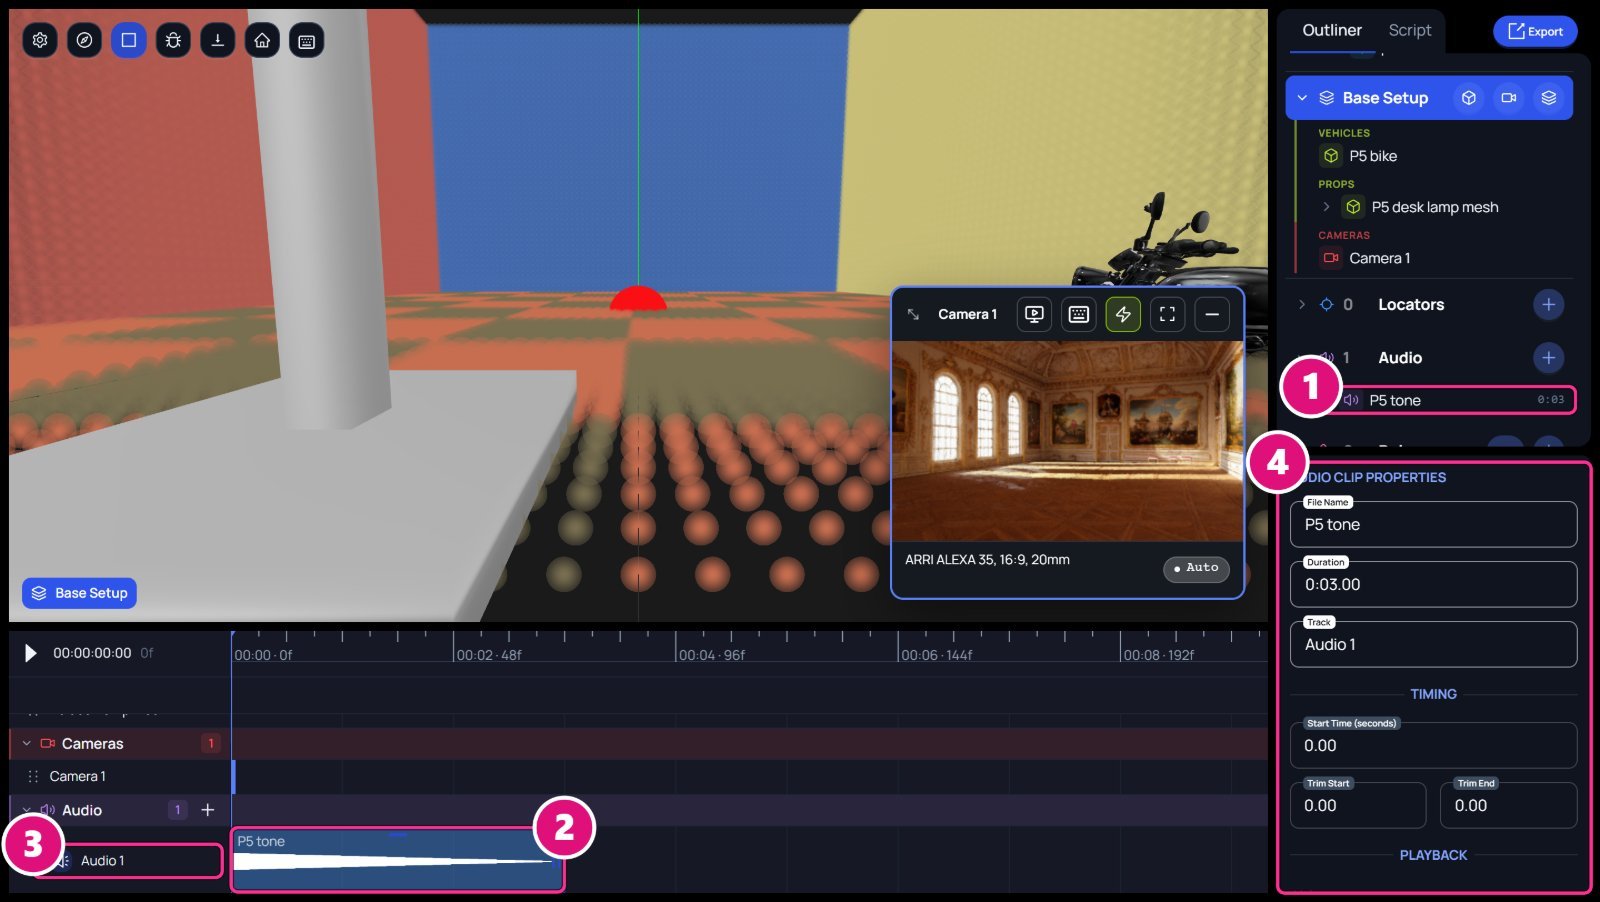
Move the playhead to where the sound starts. On the sound’s row in the Outliner, click + (Add to timeline at playhead).The scene editor with the P5 tone clip selected. Box 1 is on the P5 tone row in the Outliner, 2 on the clip on the Timeline, 3 on the track Audio 1 and 4 on Audio Clip Properties.
  1. Sound row
  2. Clip
  3. Track
  4. Audio Clip Properties
Click the clip to set its Start Time, Trim Start, Trim End and Volume. Click the track for Track Name, Track Volume and Muted. To upload a sound, click Add to Library in the audio library. Spark reads its length, format and size. Audio files can be .mp3, .wav, .ogg, .m4a, .aac or .flac. The Audio Settings window for p5-tone. Box 1 is on the Preview player, 2 on Audio name and Tags, 3 on Audio Info and 4 on Add to Library.
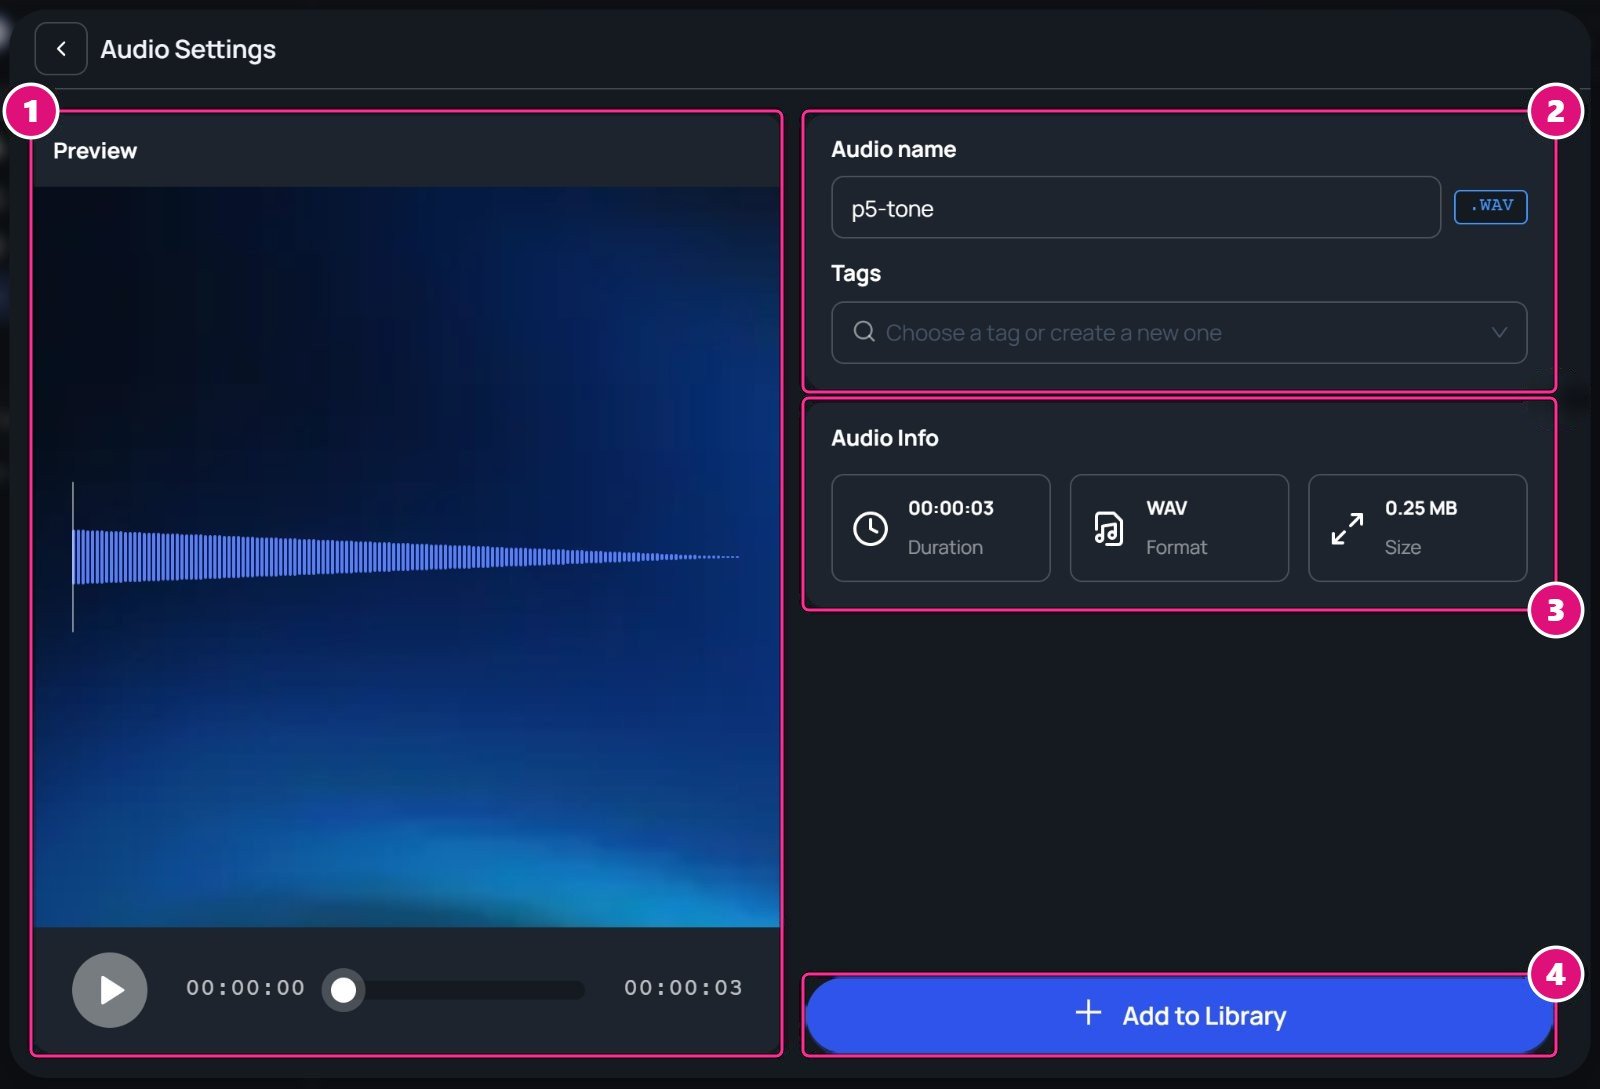
  1. Preview
  2. Audio name and Tags
  3. Audio Info
  4. Add to Library

Use locators

A locator marks a point in the scene, such as where an actor stands. Locators are saved in the USD file when you export the scene.
  1. Click + on the Locators row.
  2. Click the spot on the 3D canvas.
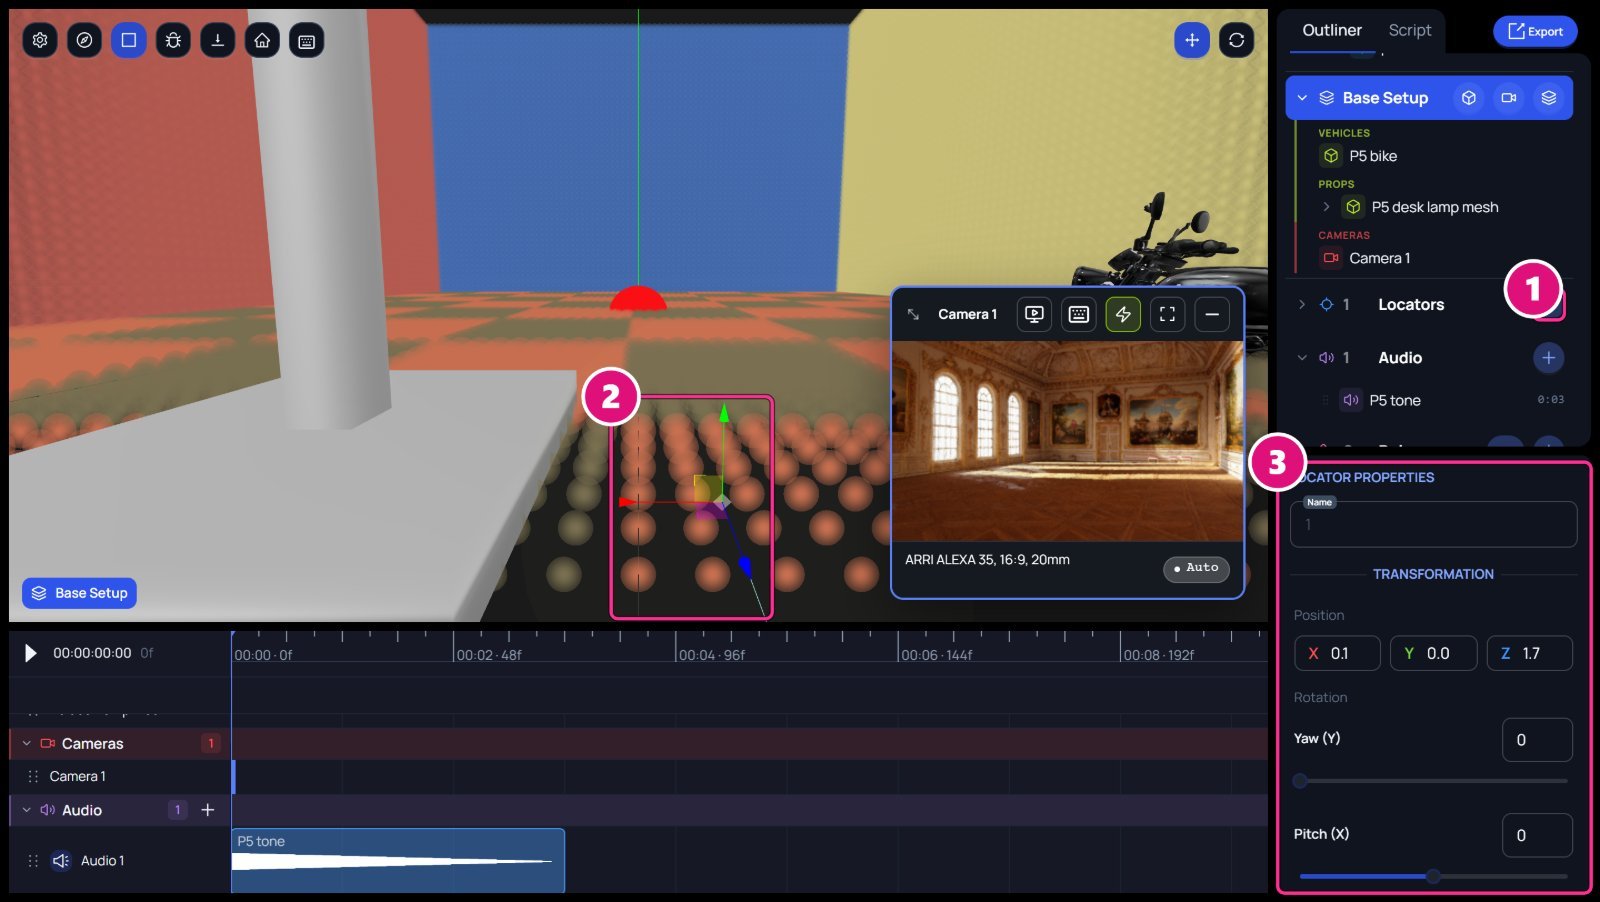
The scene editor with a locator placed. Box 1 is on the plus button of the Locators row, 2 on the locator and its gizmo in the canvas, and 3 on Locator Properties with Name, Position, Yaw and Pitch.
  1. Locators +
  2. Locator
  3. Locator Properties
Locator Properties holds its Name, Position, and its rotation as Yaw (Y) and Pitch (X). A locator without a name shows as Untitled Locator.

Measure with rulers

1

Pick the unit

Click the unit button on the Rulers row, then Meters (m) or Feet (ft).The Rulers row and Ruler Properties for Ruler 1. Box 1 is on the ft unit button, 2 on the Rulers plus button, 3 on Distance, 0.401 ft, and 4 on the Start and End positions.
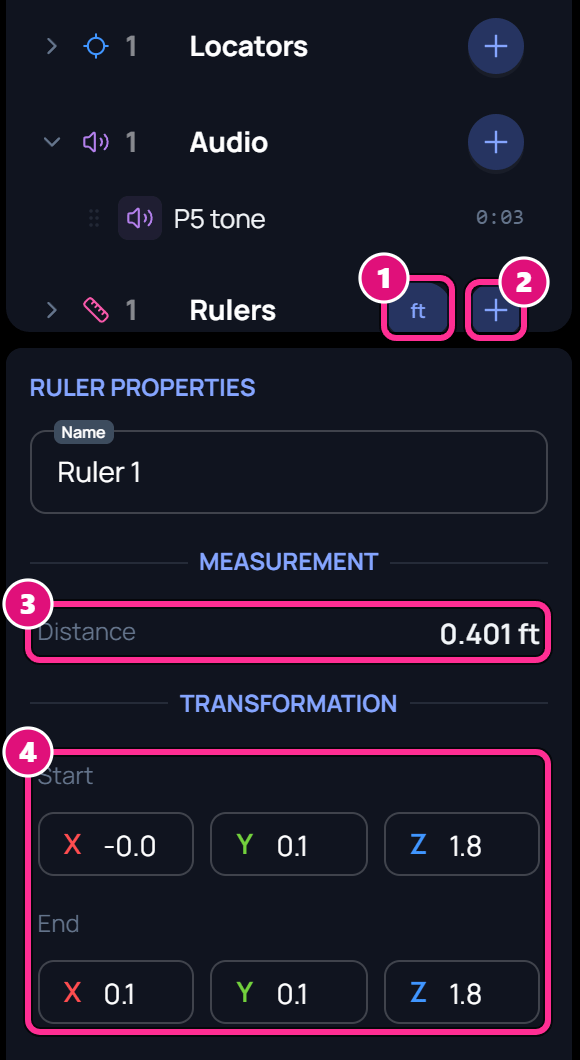
  1. Unit button
  2. Add a ruler
  3. Distance
  4. Start and End
2

Add a ruler

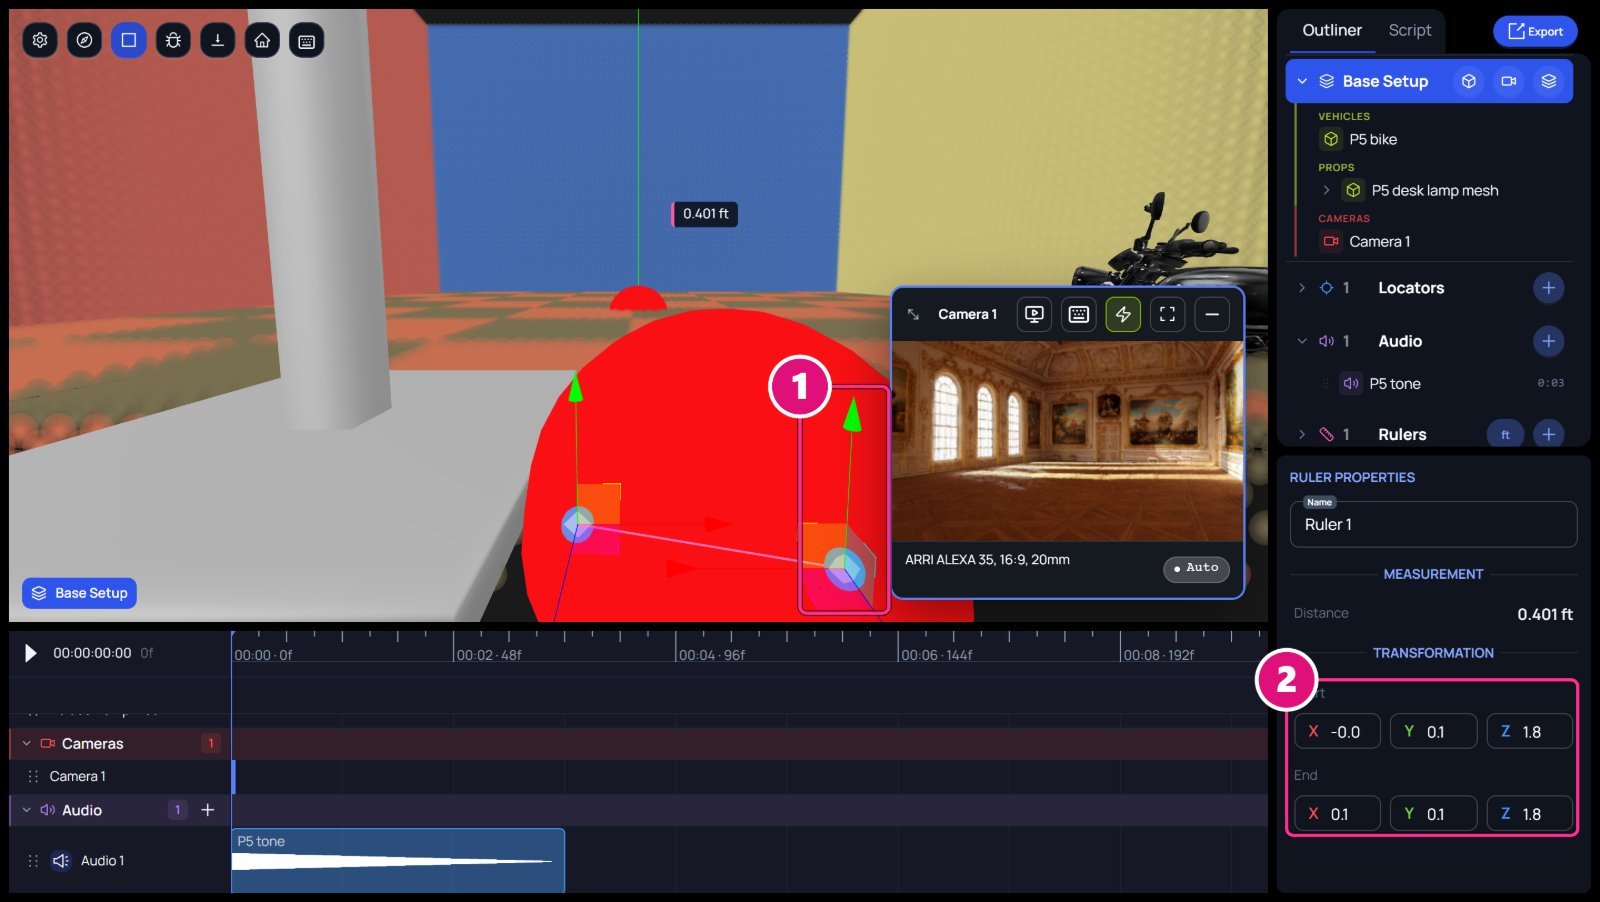
Click + on the Rulers row, then click two points on the 3D canvas. The length shows on the canvas.A ruler on the 3D canvas. Box 1 is on its length label, 0.401 ft, and 2 on the ruler between its two ends.
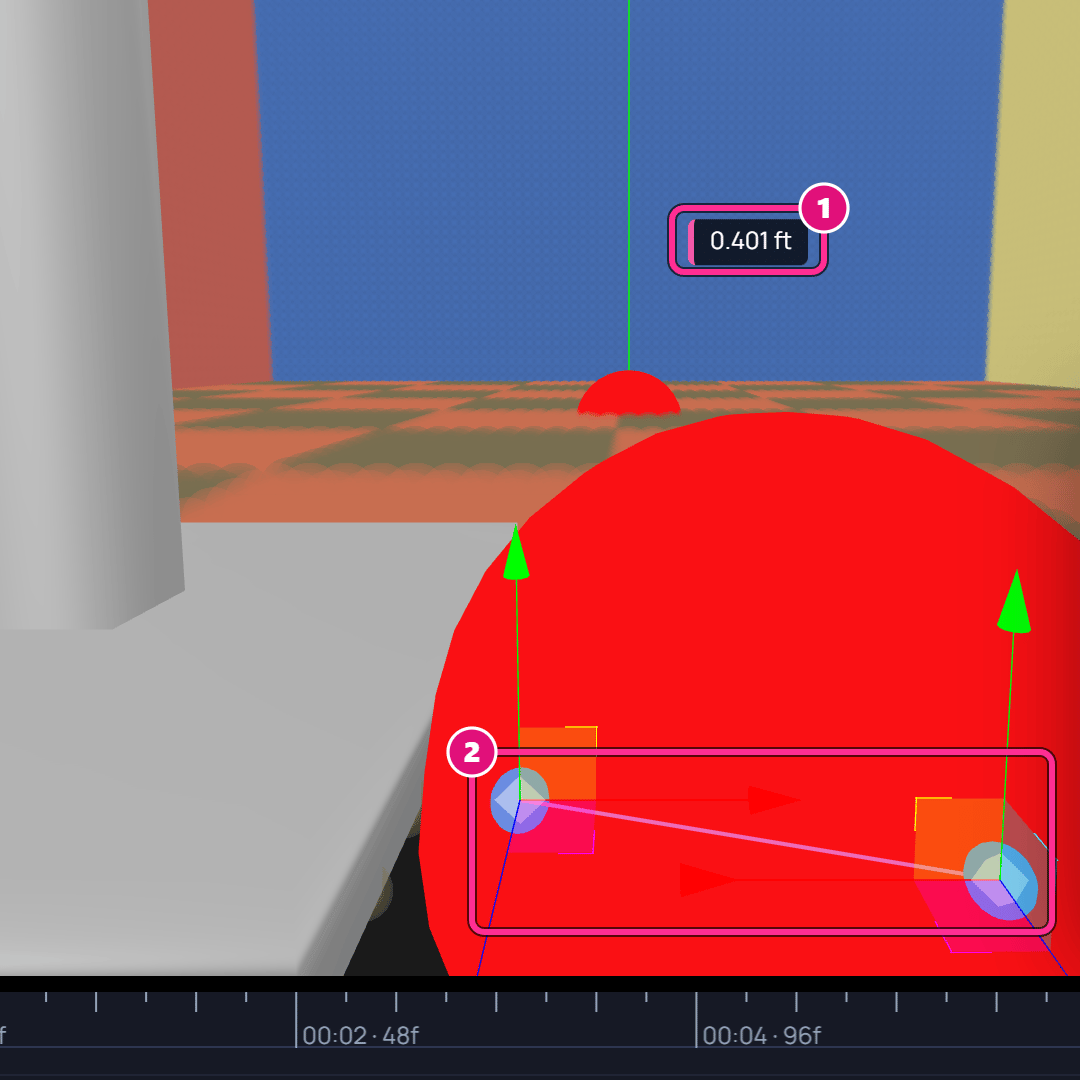
  1. Length
  2. Ruler
3

Adjust it

Drag either end with its gizmo, or enter Start and End values in Ruler Properties.The scene editor with Ruler 1 selected. Box 1 is on the gizmo at one end of the ruler, and 2 on the Start and End values in Ruler Properties.
  1. End gizmo
  2. Start and End
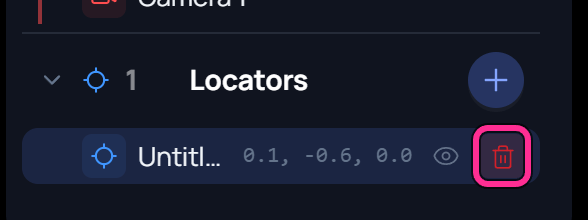
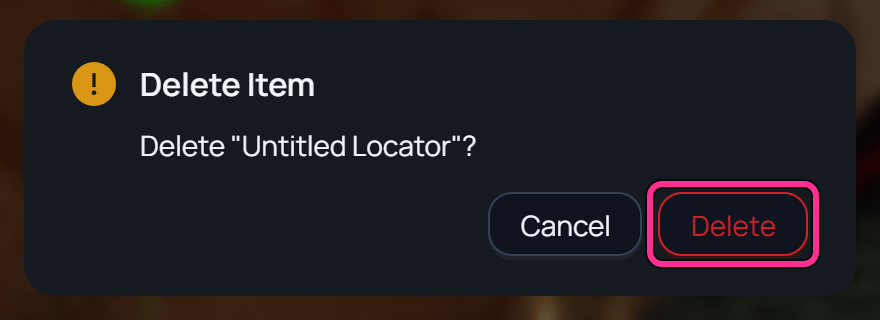
To delete a locator or a ruler, hover its row, click the trash, then confirm. A locator row in the Outliner, Untitled Locator with its position, and a box on the trash. The Delete Item window, Delete Untitled Locator?, with Cancel and a box on Delete.

Timeline and animation

Play a scene and move clips.

Scene editor

The Outliner and the panels around it.