

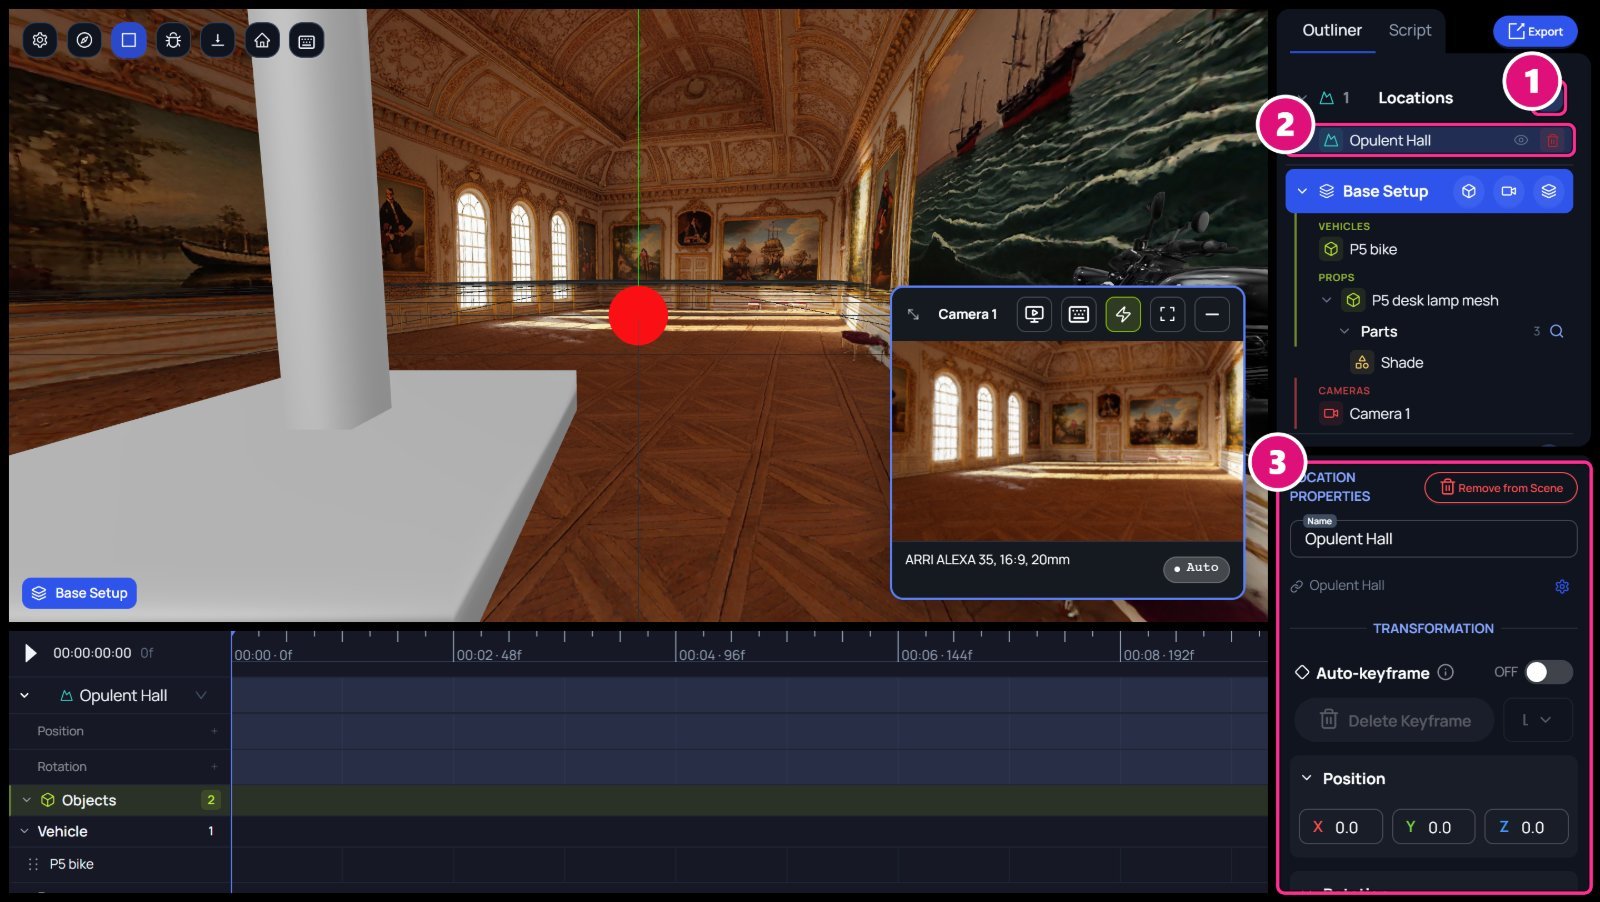
- Replace location
- Location row: eye, trash
- Location Properties
Add a location
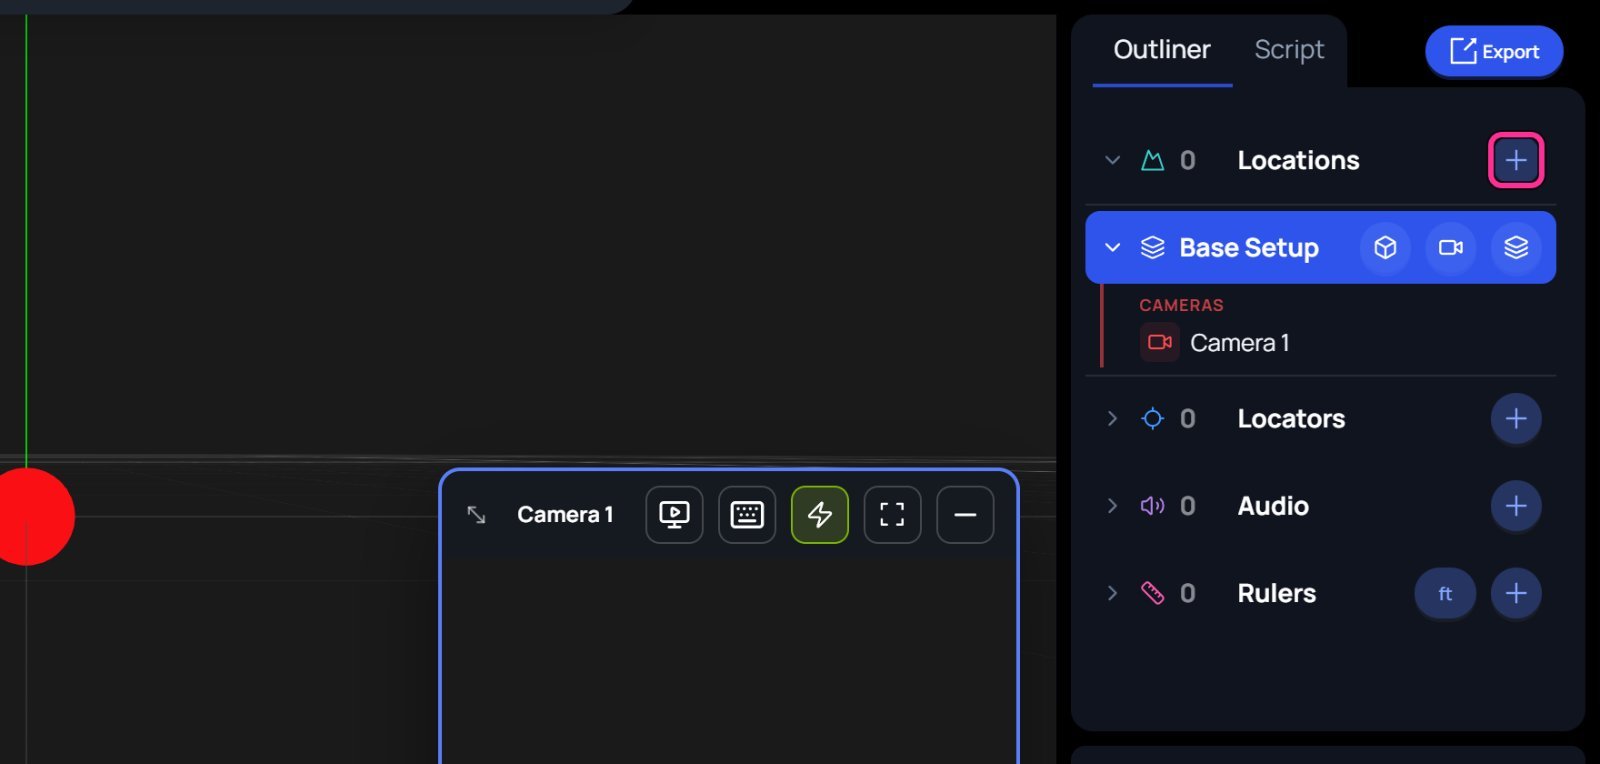
Add a location
Hover a location, then click Add to Scene. A default location you haven’t used yet says Import & Add. To use your own file, click Add to Library first. See Location Settings.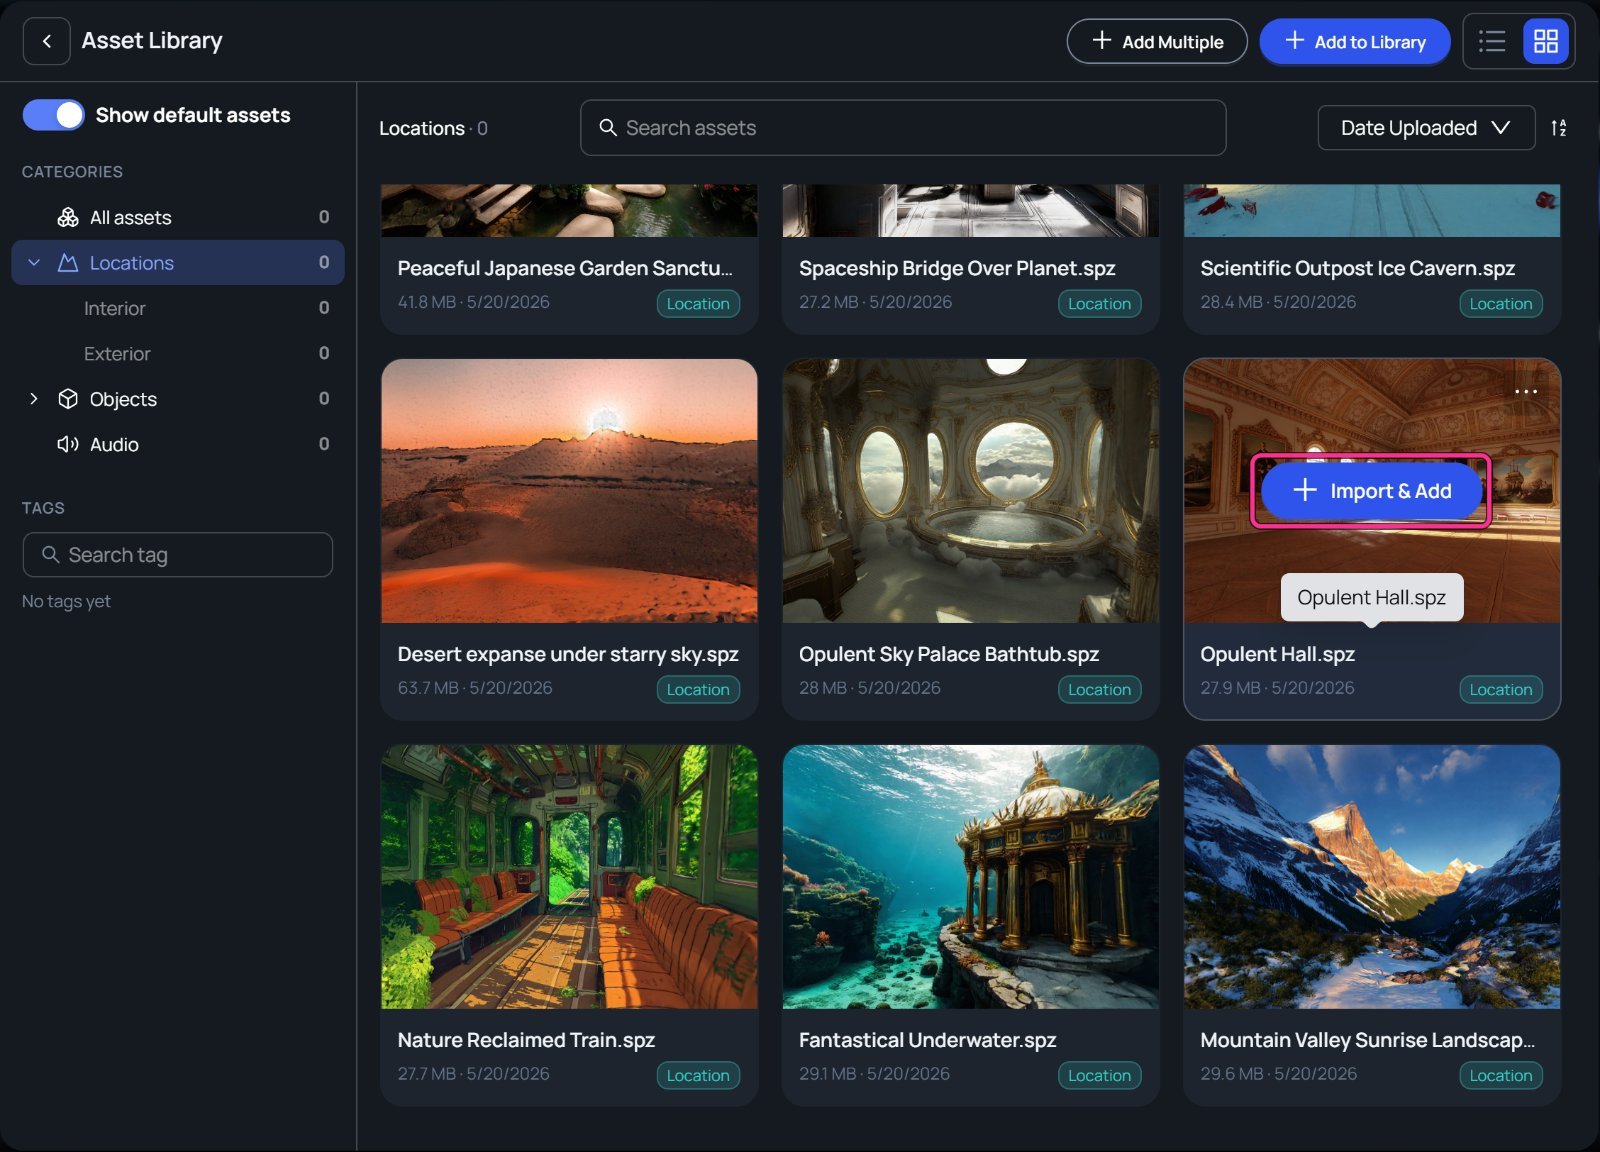
Replace a location
Once a scene has a location, the + on the Locations row becomes Replace location (↻). Click it, pick another location, then click Replace to confirm.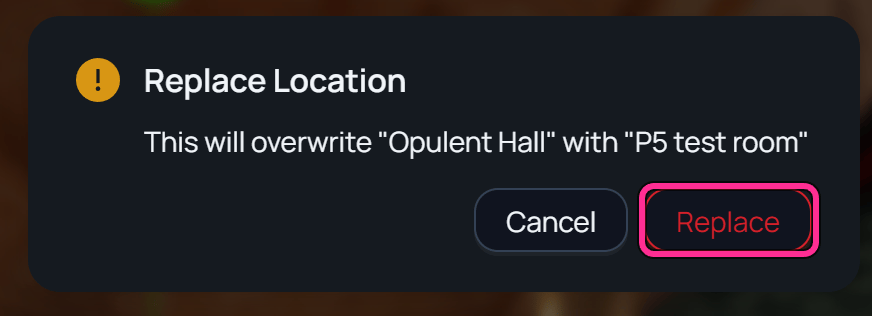
The camera preview can keep showing the old location for a minute or more. The 3D canvas shows the new one.
Location Settings
Location Settings opens when you upload a location with Add to Library. It takes a splat or a USD set:.ply, .splat, .spz, .usd, .usdc, .usda or .usdz.
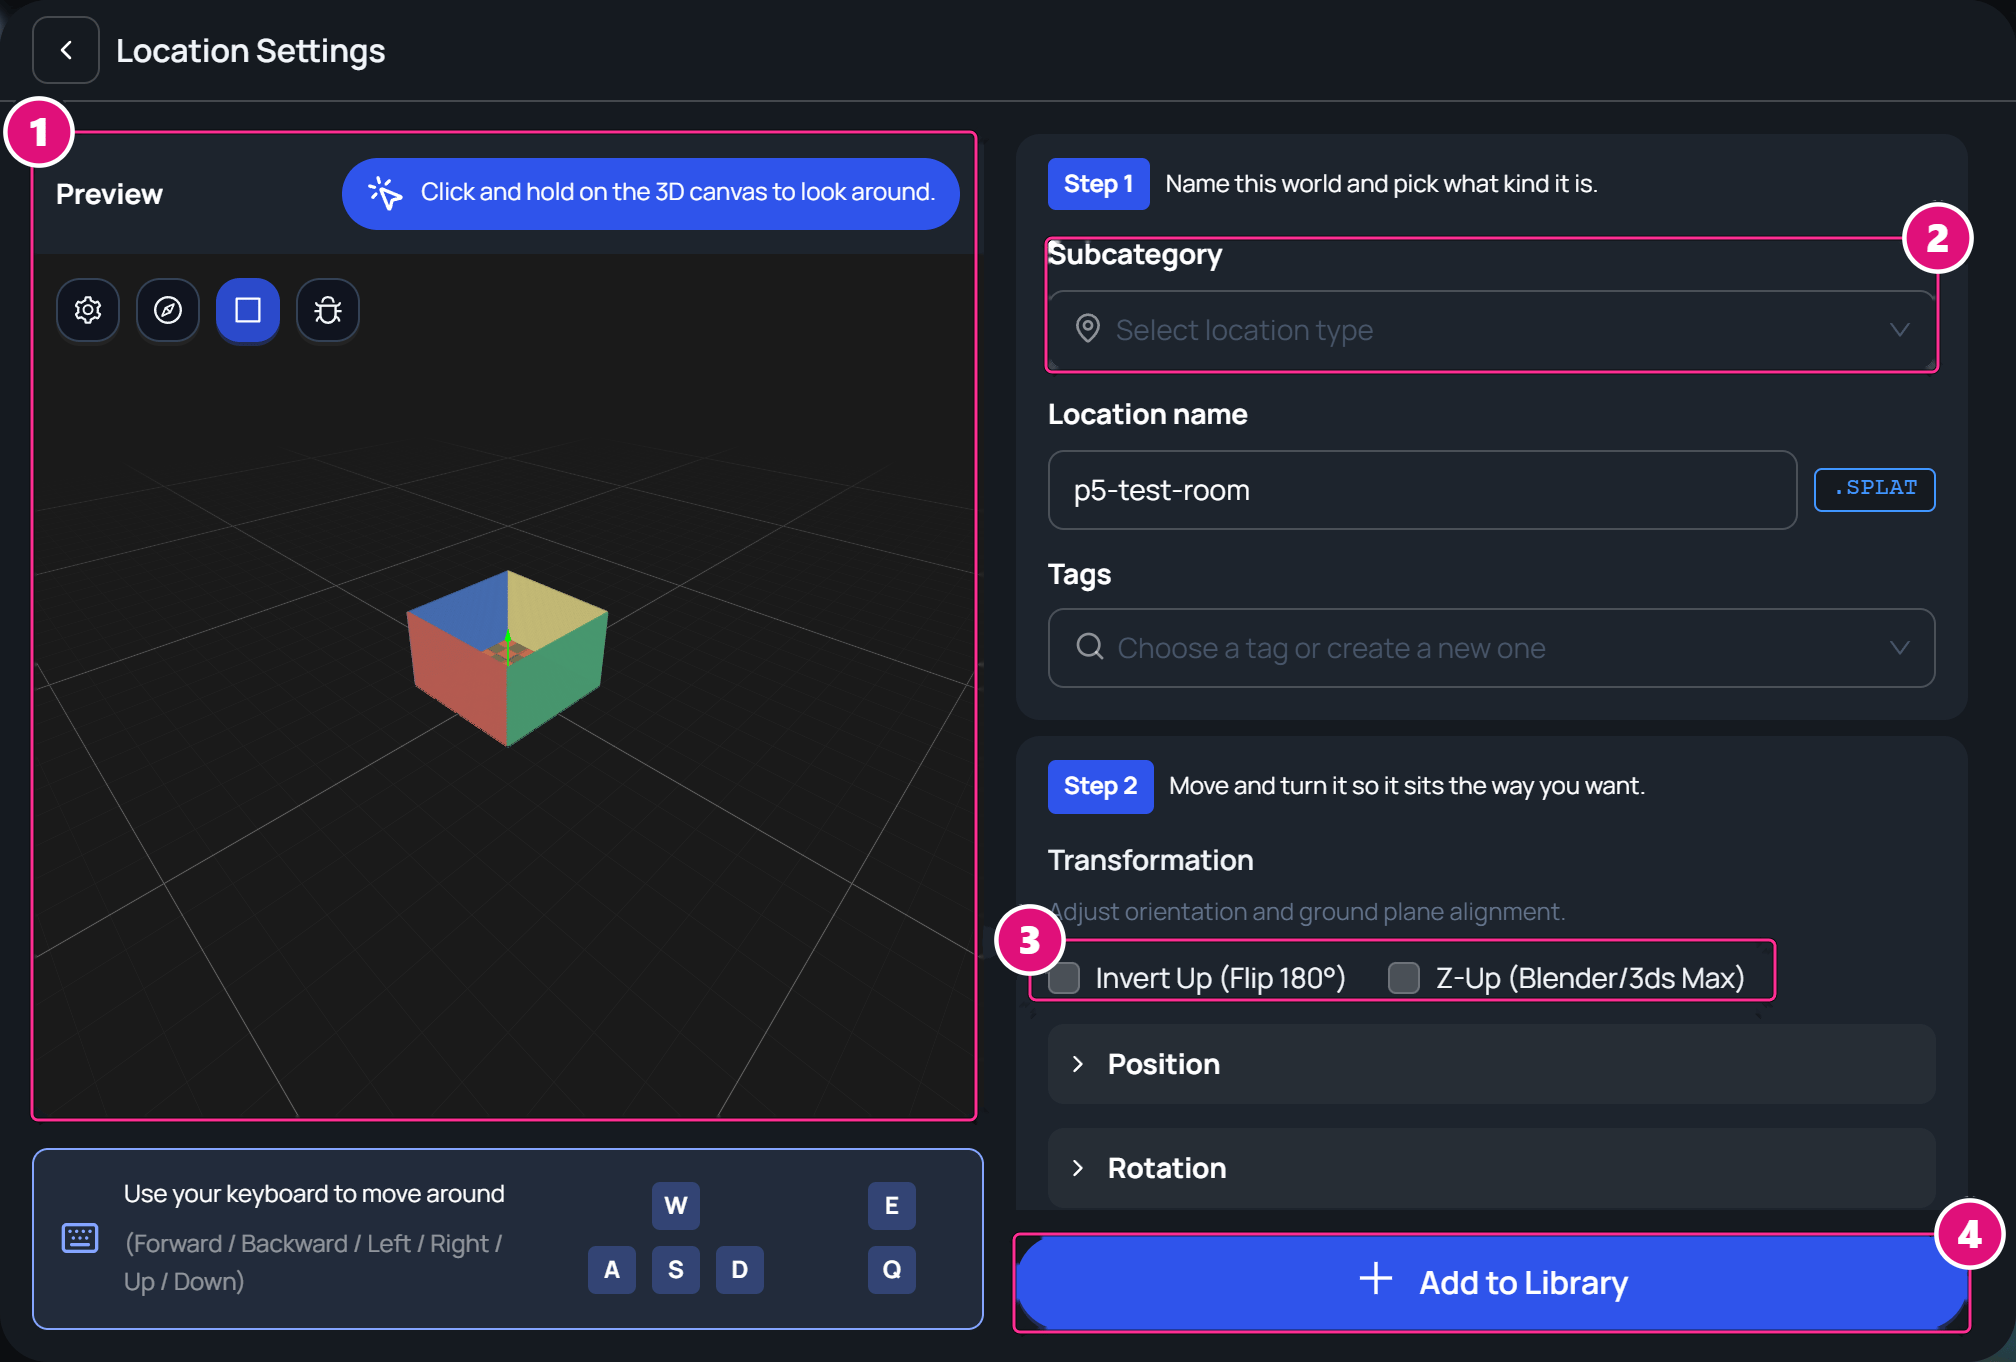
- Preview
- Subcategory
- Invert Up and Z-Up
- Add to Library
- In the Preview, drag to look around, and use W, A, S, D, Q and E to move.
- Subcategory is required: Interior or Exterior.
- Tick Invert Up (Flip 180°) or Z-Up (Blender/3ds Max) if the location loads upside down or on its side.
Fix orientation or scale
Select the location, then change Position, Rotation or Scale under Transformation in Location Properties. Scale has a lock beside it.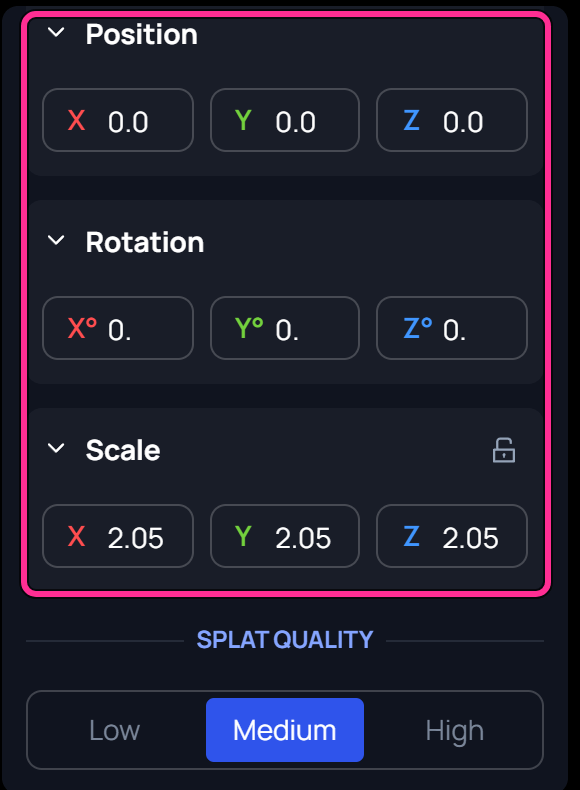
Set the render quality
The Rendering panel sets how splats are drawn. Open it in one of two ways:- Click Settings (the gear) in the canvas toolbar, then Rendering….
- Select a splat location, then click Render quality settings under Rendering in its properties.
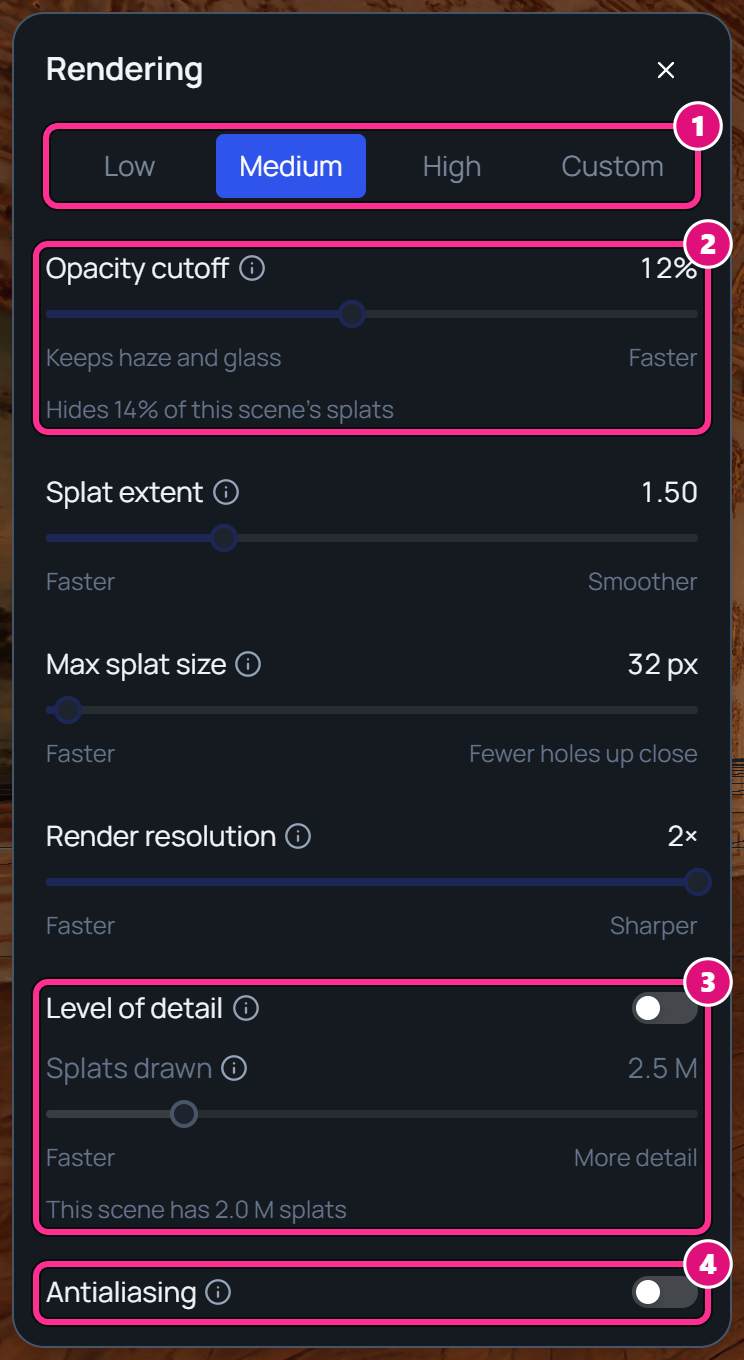
- Presets
- Opacity cutoff
- Level of detail, Splats drawn
- Antialiasing
- Under Opacity cutoff, a line gives the share of the scene’s splats this setting hides. It turns amber above the Low preset’s value.
- Under Splats drawn, Spark shows the scene’s splat count. With Level of detail on, it also says how many of those it draws.
Every preset sets Render resolution to 2×, with Level of detail and Antialiasing off.
Move any slider or switch, and the preset becomes Custom. Your choice stays after a reload, and applies to every scene on this device. Exports and upload thumbnails always use the High values.
A change to Antialiasing takes effect after a reload. The panel shows Takes effect after a reload. Click Reload now to reload the page.
Hide a location
Hover the location’s row, then click the eye. The location disappears from the 3D canvas and the camera preview, and the row turns dim.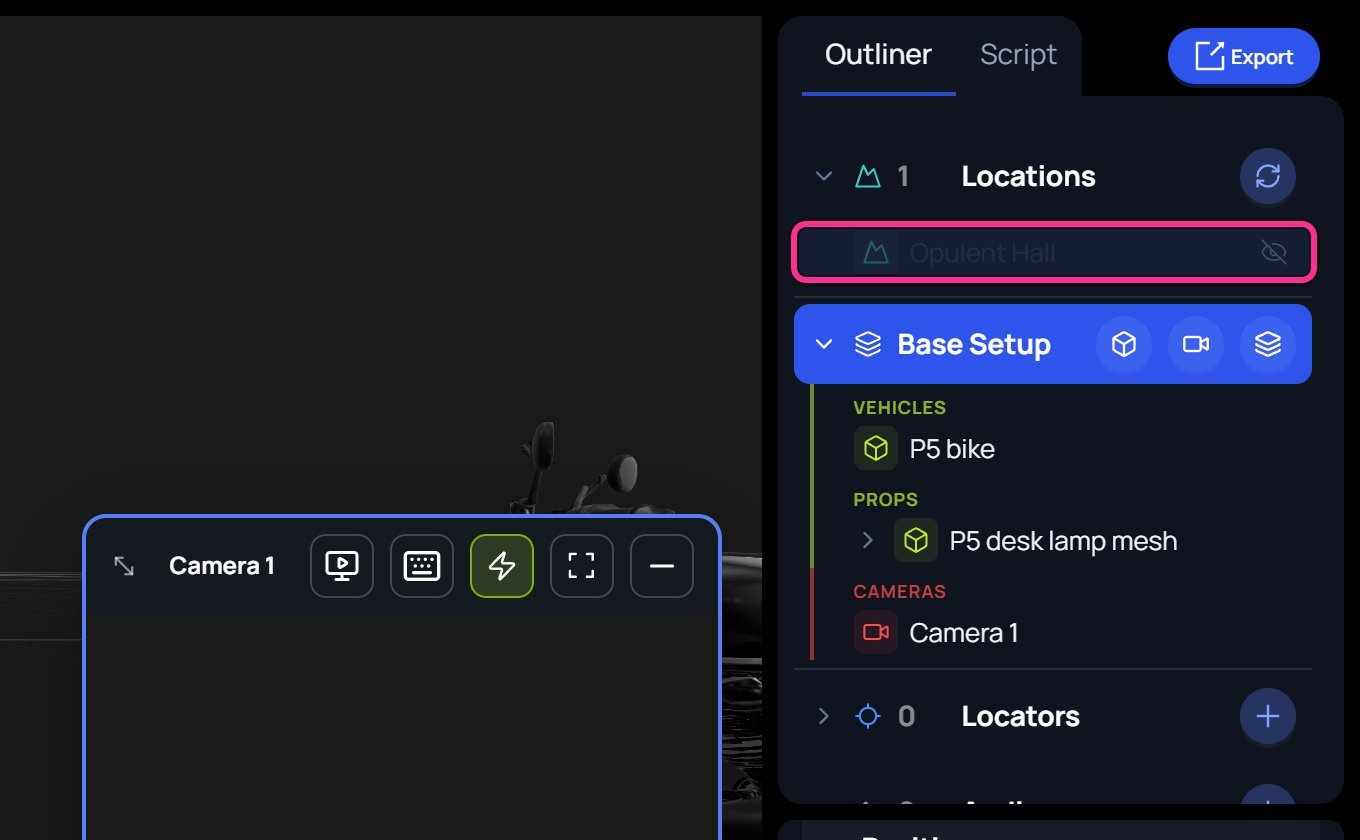
Related
Asset Library
Upload your own locations.
Move around a scene
See the floor plan with Top-Down View.
Bring in an Unreal scene
Make a location from Unreal Engine.