Object Locators
Object locators are empty 3D nulls that Jetset uses to let users interactively move objects in the scene. Object locators use the prefix ‘objectloc_’ followed by a user-specified name, for example objectloc_Actor_Bob. No spaces are allowed in object locator names.Adding Object Locators
In Unreal, it’s not possible to parent static meshes to the Actor components that we used for scene locators. Instead, we will simply name a static mesh directly, and parent any other meshes needed to that named object locator. Select a static mesh that you wish to use as an object locator. F2 to rename the empty, and type ‘objectloc_My_Custom_Name.’ The result should look like this in the Outliner.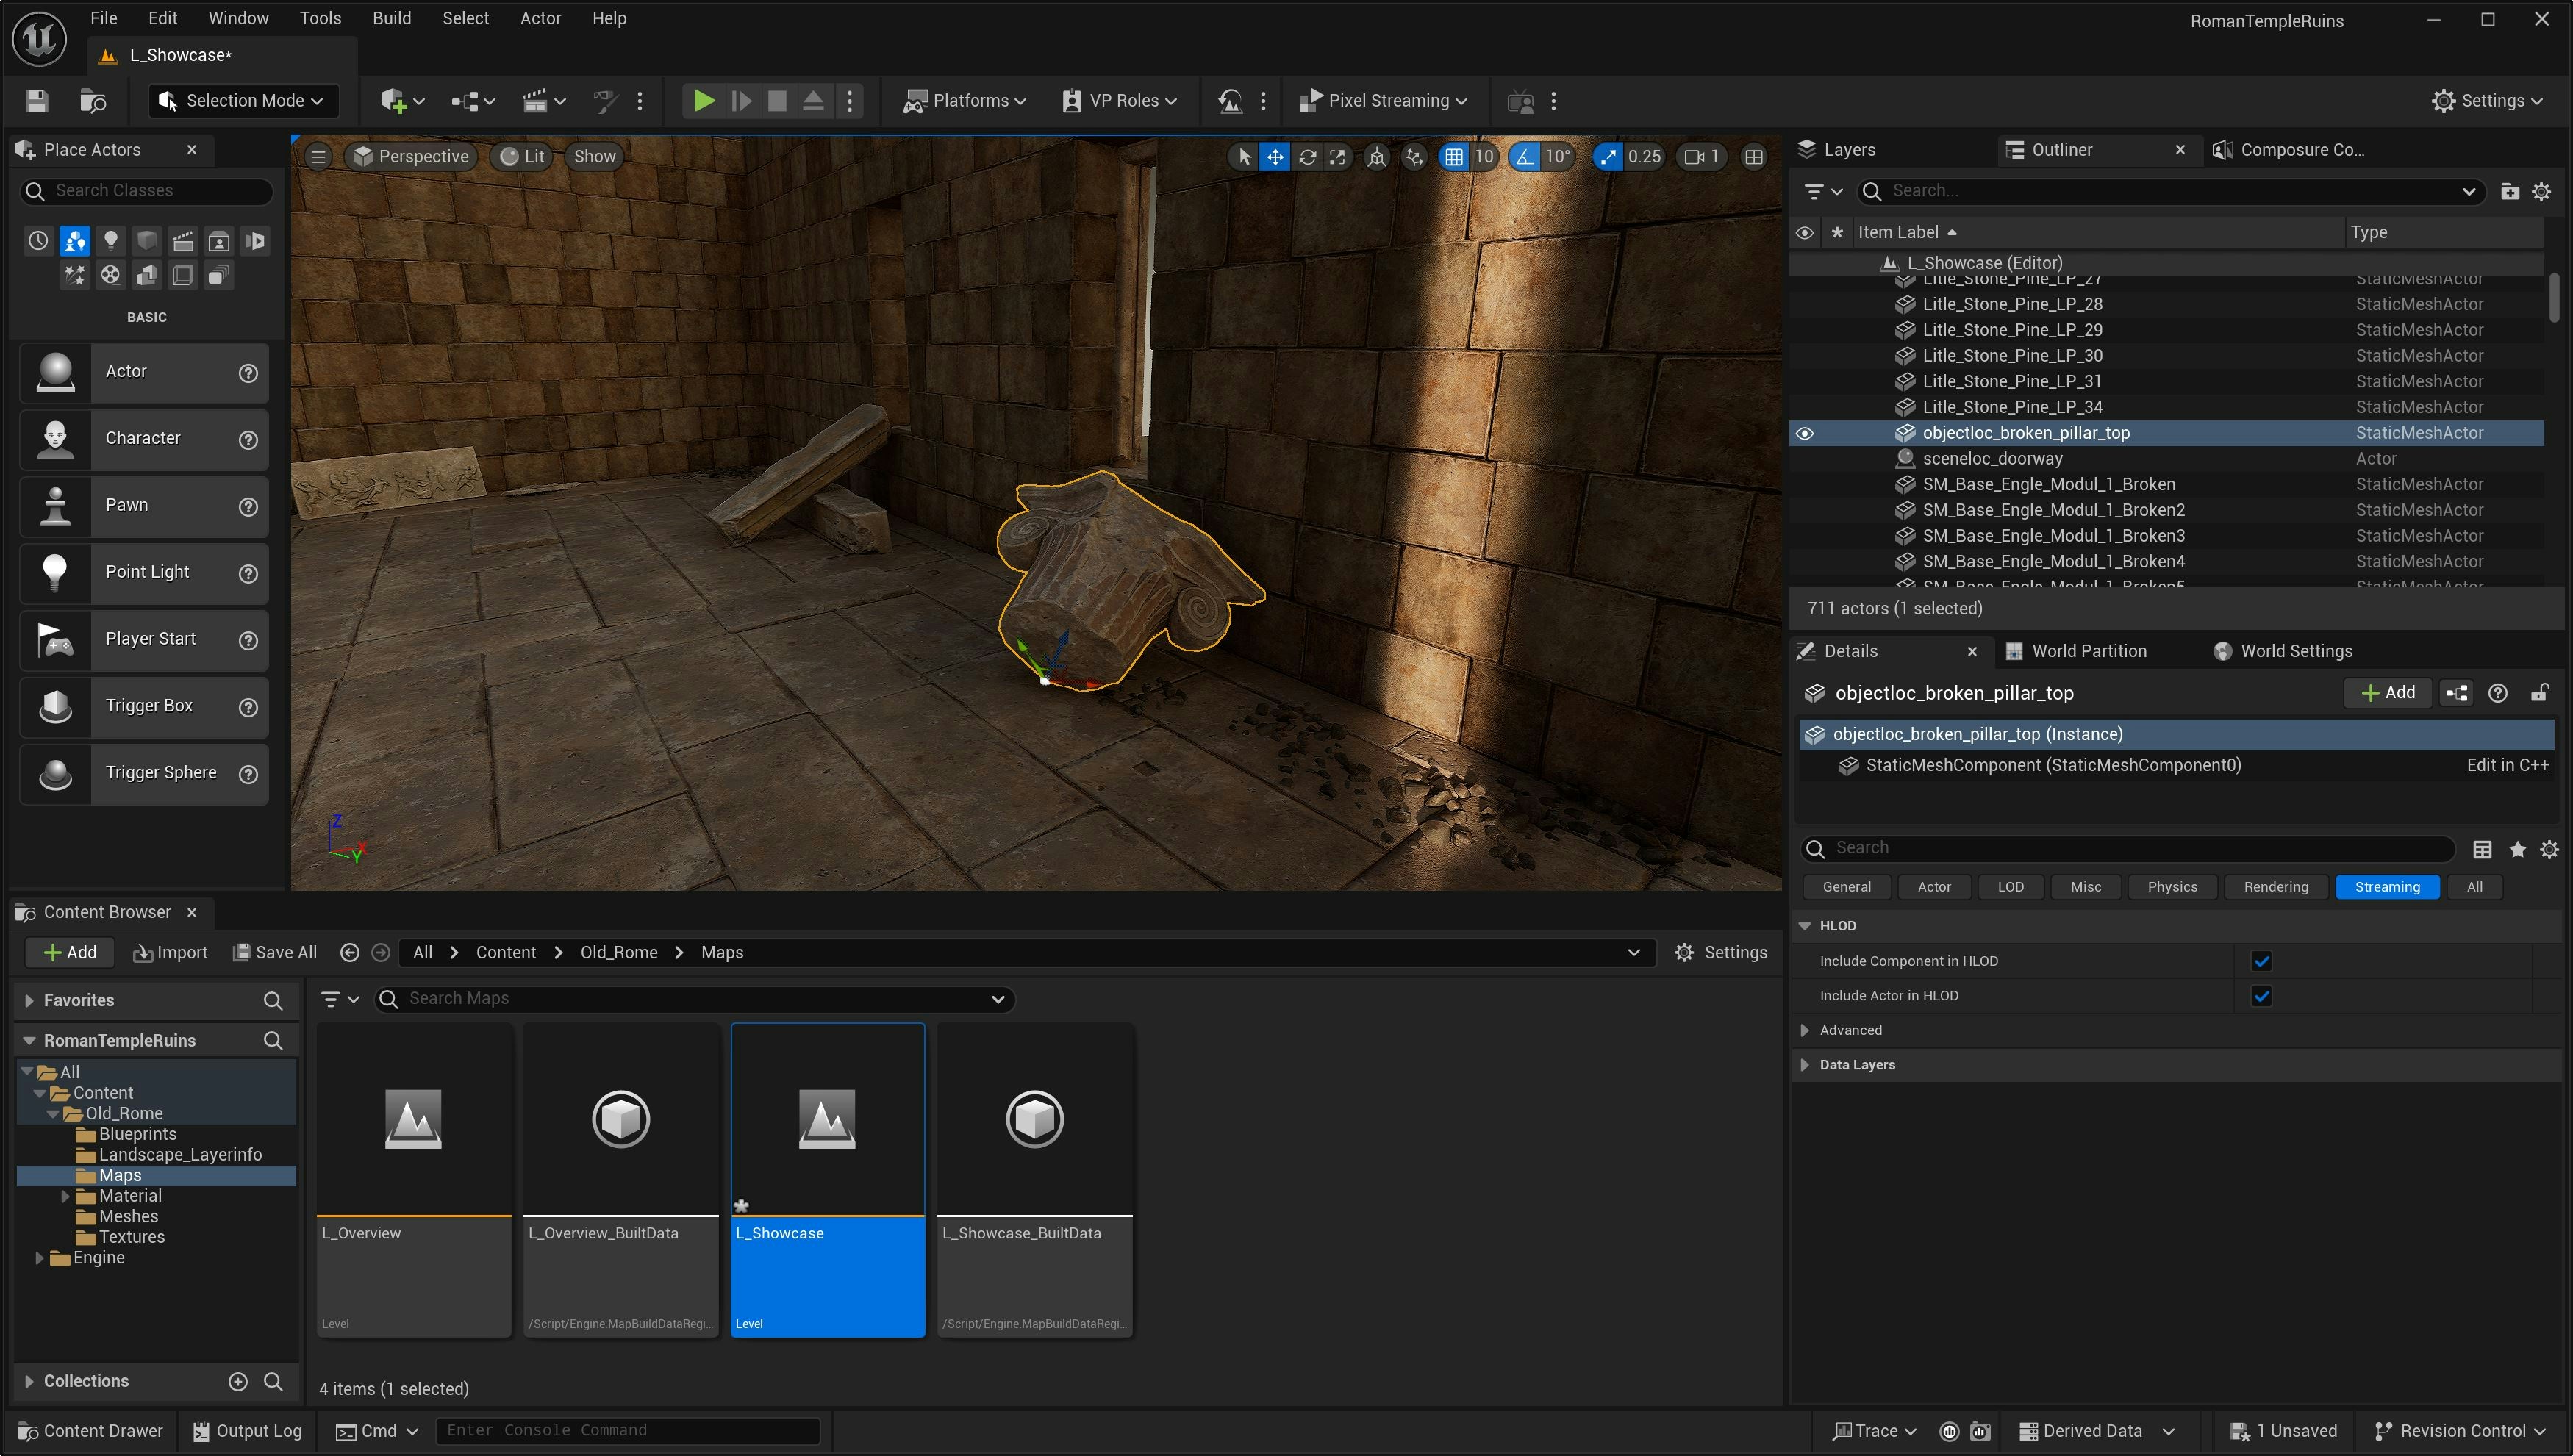
Using Object Locators
In Jetset, after importing the USDZ file, navigate to the ‘Object Move’ tab. Jetset will parse the list of objectloc_* nulls in the current USDZ file, and provide a list.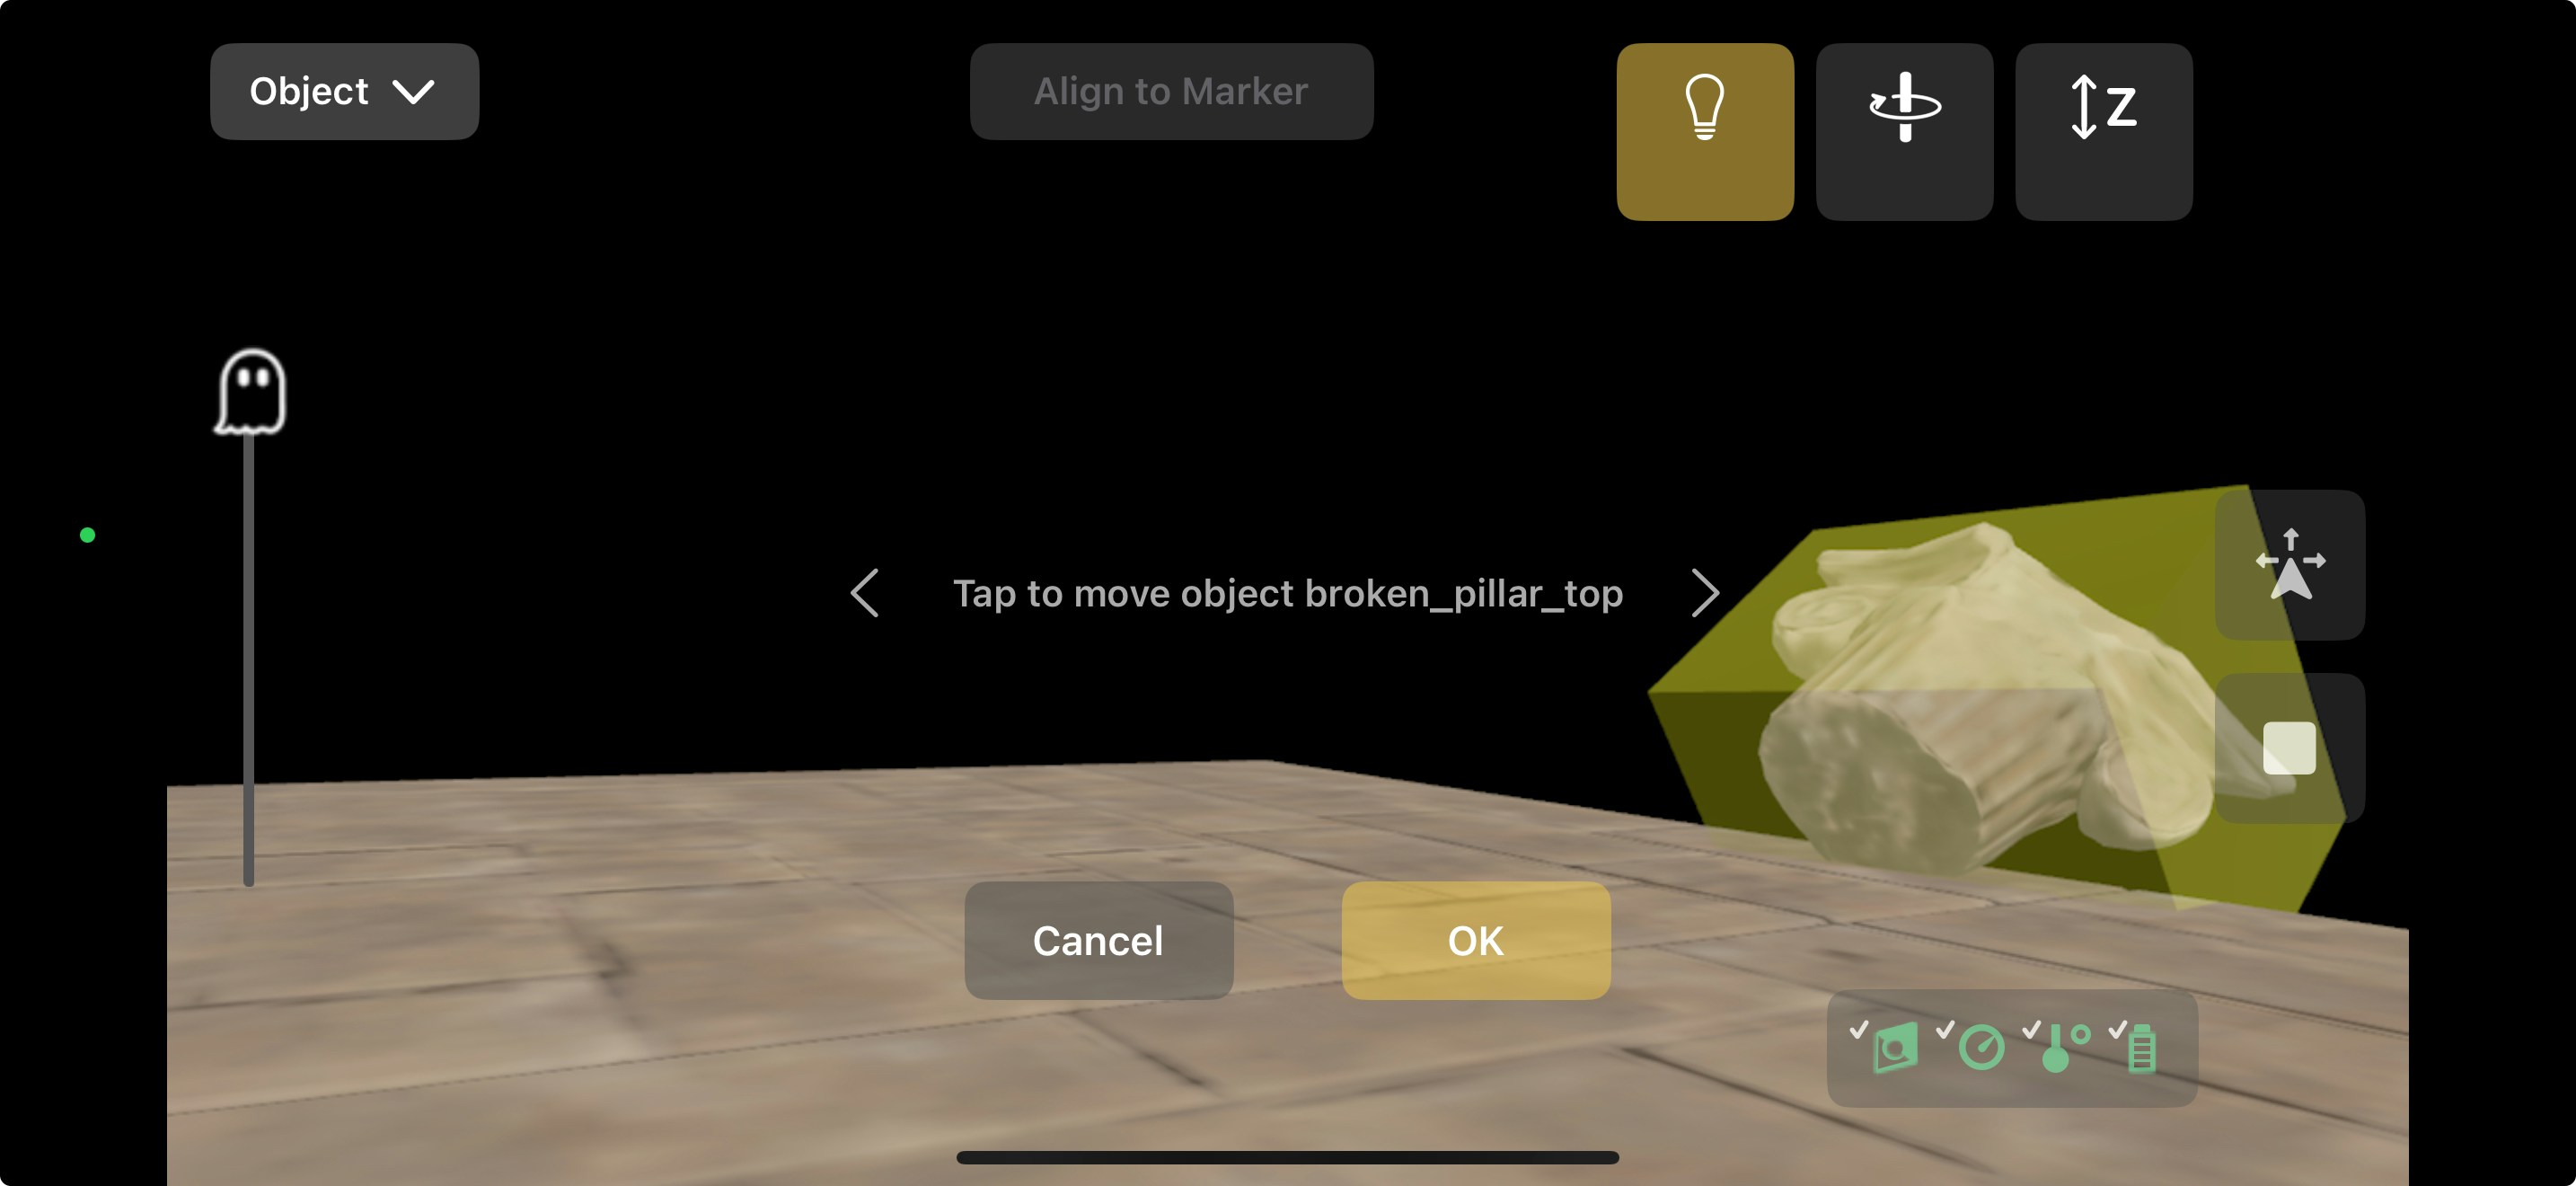
- Tap the visibility icon to show or hide the object.
- Tap the rotation icon to interactively rotate the object.
- Tap the Z icon to interactively move the object up or down.
- Click OK when done moving the objects to return to the main screen.